Halloween Nail Designs: 25 Spooky & Cute Ideas to Try
Looking for the perfect Halloween nail designs to complete your spooky-season look? Halloween is the perfect time to experiment with dark colors, cute characters, creepy details, and creative nail art.
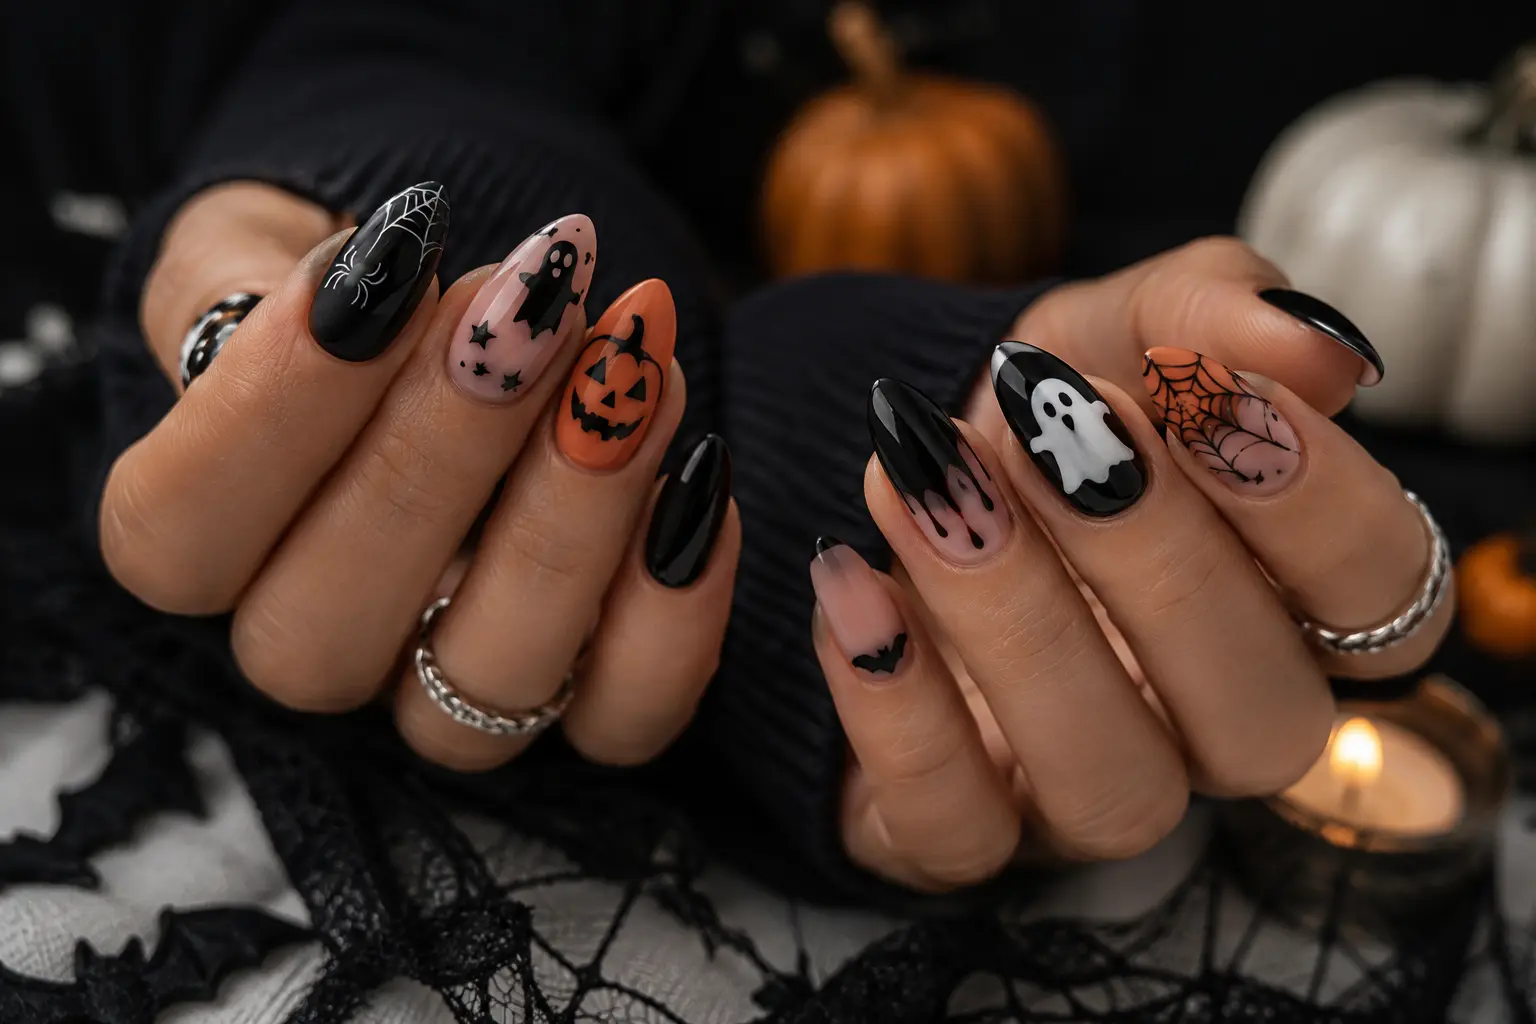
From classic black nails and pumpkin accents to ghost French tips and dramatic blood-drip designs, there are options for every nail length and skill level.
You don’t need complicated tools to create a festive manicure. Many simple Halloween designs can be created with a few basic colors, a fine nail art brush, and a dotting tool. OPI, for example, demonstrates Halloween looks using simple combinations of black, white, orange, and a dotting tool.
Current Halloween nail inspiration also leans toward wearable designs such as negative space, French tips, subtle ghosts, spider webs, chrome accents, and dark glossy finishes.
Here are 25 Halloween nail designs worth trying this spooky season.
25 Best Halloween Nail Designs
1. Classic Black Halloween Nails


You can never go wrong with classic black nails for Halloween.
Paint every nail glossy black for a simple and dramatic manicure. For a more interesting finish, use matte black on most nails and add glossy black details to one or two accent nails.
This design works particularly well when you want Halloween nails that can still look stylish after October 31.
2. Pumpkin Nail Designs


Pumpkins are one of the easiest ways to create an instantly recognizable Halloween manicure.
Use orange polish for tiny pumpkins over a nude, cream, or black base. Add small green stems for extra detail.
For a simple version, create one pumpkin accent nail and keep the remaining nails orange or black.
3. Ghost Nails


Cute ghost nails are perfect if you want something spooky without making your manicure too scary.
Start with a nude, milky, or pale pink base. Paint tiny white ghosts and add black eyes and small mouths.
Ghost French tips are another stylish option and can make a traditional French manicure feel much more festive.
4. Spider Web Nails


Spider webs are one of the most versatile Halloween nail art ideas.
Create thin black webs over a nude, white, purple, or clear base. You can put a web on every nail or use it only on accent nails.
For an elegant version, combine a nude base with black French tips and place a tiny spider web at one corner.
5. Witchy Nails


For a mysterious Halloween manicure, try a witch-inspired design.
Use black, deep purple, dark green, and silver shades. Add moons, stars, stars, tiny bats, witch hats, or mystical symbols.
Long almond or coffin nails give this design plenty of space for detailed artwork.
6. Bloody Halloween Nails


Blood-drip nails are perfect for a darker Halloween look.
Start with a nude, white, or sheer base and add dark red polish near the tips. Pull the red polish downward into different-sized drips.
For a more dramatic effect, use a deep burgundy instead of bright red.
7. Cute Halloween Nails


Halloween doesn’t have to be scary.
Create a cute mix of tiny pumpkins, ghosts, bats, stars, candy, and smiling faces. Pastel orange, pink, cream, lavender, and black can create a softer look.
This style is especially good for short nails.
8. Orange & Black Nails


Orange and black are classic Halloween colors.
Try alternating orange and black nails or create black French tips over an orange base.
For a more modern look, add gold or silver chrome details to break up the two-color combination.
9. Skeleton Nail Designs


Skeleton nails can range from simple to highly detailed.
For beginners, paint small white bones over a black base. If you want something more creative, use a nude or sheer base and create miniature skeleton figures on selected nails.
A black-and-white color scheme keeps the design dramatic and easy to coordinate.
10. Vampire-Inspired Nails


Vampire nails are ideal for anyone who prefers a glamorous Halloween look.
Use deep burgundy, black, dark red, and metallic silver. Add vampire fangs, blood drops, or a dark French tip.
For a subtle version, simply use glossy oxblood or burgundy polish.
11. Halloween Cat Nails


Black cats are a Halloween classic.
Paint a small black cat silhouette on a nude or orange accent nail. You can also create tiny cat eyes using bright green, yellow, or white polish.
Keep the rest of the manicure simple so the cat becomes the focal point.
12. Bat Nail Designs


Tiny black bats look great against a nude or light-colored background.
Use a fine brush to create simple bat silhouettes. You don’t need every bat to be identical—slightly different sizes can make the manicure look more natural.
For an easy option, place tiny bats only on two accent nails.
13. Mummy Nails


Mummy nails are a fun alternative to traditional ghosts and pumpkins.
Use white or cream polish as the base, then draw thin black lines across the nail to imitate mummy bandages.
Finish with two tiny black eyes for a cute expression.
Chrome mummy designs can also create a more sophisticated version of this theme.
14. Eyeball Halloween Nails


For something creepy and colorful, try eyeball nails.
Paint a white or light base, then add a colored iris and black pupil. Finish with thin red veins if you want a scarier effect.
You can put one large eyeball on an accent nail instead of covering the entire manicure.
15. Candy Corn Nails


Candy corn colors create a playful Halloween manicure.
Use yellow, orange, and white to create stripes or French tips.
This is a great option if you want festive nails without using ghosts, spiders, or scary artwork.
16. Matte Black & Orange Nails


Matte finishes can instantly make Halloween nails look more sophisticated.
Try matte black nails with orange accent details. Add tiny pumpkins, spider webs, or metallic studs for extra interest.
The contrast between matte polish and glossy nail art can also make a simple design stand out.
17. Gothic French Tips


Give the traditional French manicure a Halloween makeover.
Instead of white tips, use black, burgundy, deep purple, or dark green. You can add tiny spider webs or bats near the tips.
This is one of the easiest choices for people who want Halloween nails that remain wearable beyond the holiday.
18. Spider Nails


For a creepy-crawly look, paint small black spiders over a nude or light-colored base.
Use a dotting tool for the spider body and a fine brush for the legs.
You can also combine spiders with spider webs for a complete Halloween-themed manicure.
19. Halloween Chrome Nails
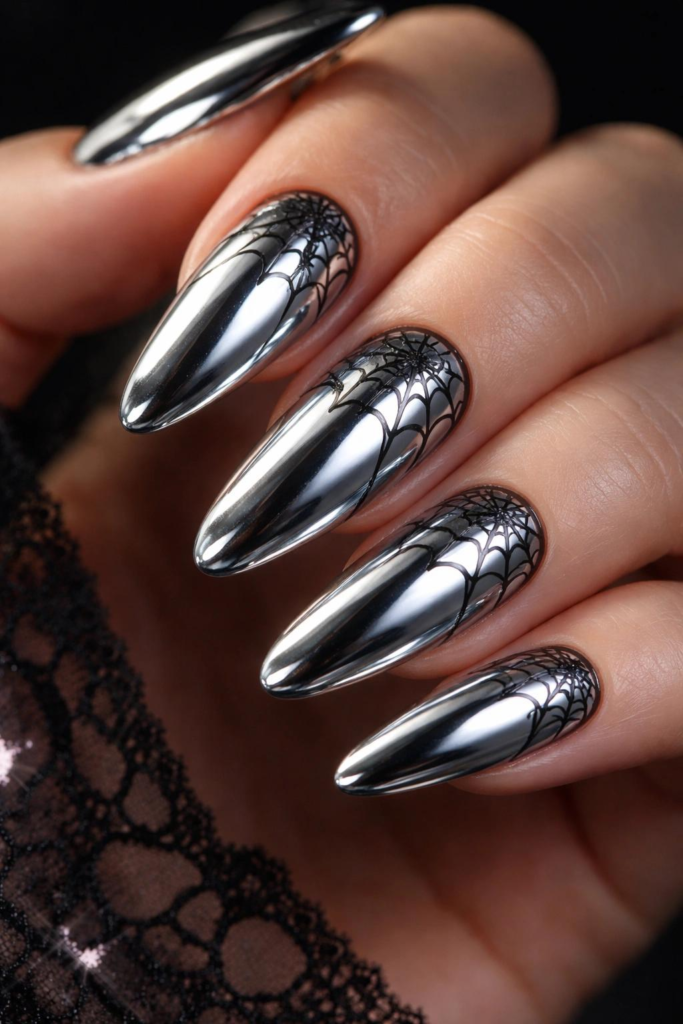
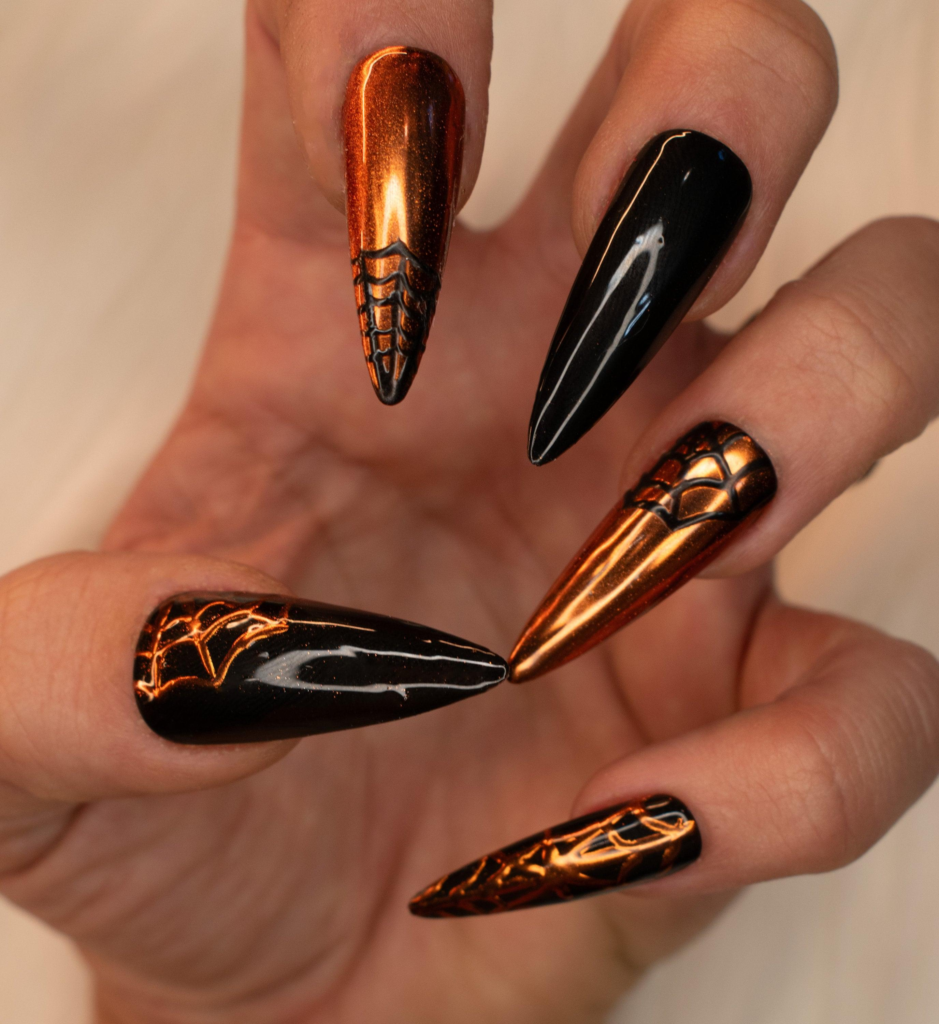
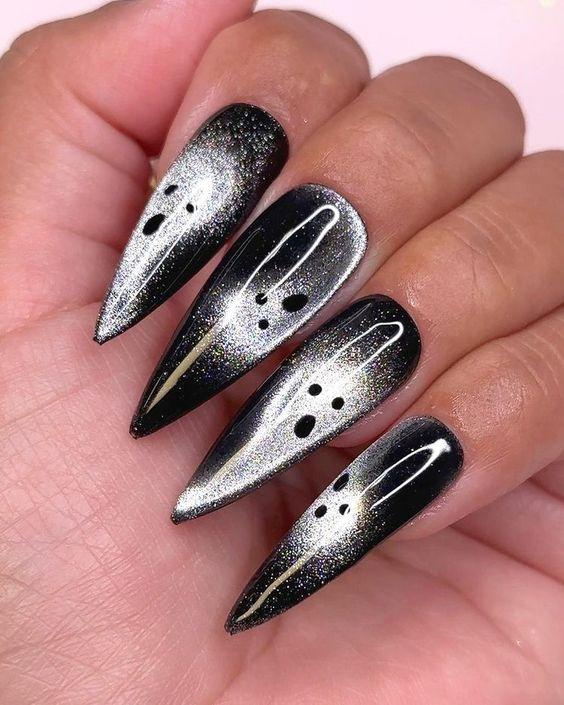
Chrome can give traditional Halloween designs a modern finish.
Try black chrome, silver chrome, purple chrome, or green chrome with tiny Halloween details.
A chrome base with black spider webs or miniature ghosts is particularly eye-catching.
20. Purple Halloween Nails


Black and orange aren’t your only choices.
Deep purple works beautifully with Halloween themes. Combine purple with black, silver, or white for a mysterious manicure.
For something more dramatic, use a purple-to-black ombré base with small moons, stars, or spider webs.
21. Green Slime Nails


Green slime nails are perfect for a playful spooky manicure.
Use neon green over black or nude nails and create dripping slime effects.
You can also combine slime details with ghosts, eyeballs, or Frankenstein-inspired artwork.
22. Frankenstein Nails


Frankenstein-inspired nails are a fun choice for Halloween parties.
Use green polish for the face and black for the hair and facial details. Add small stitch marks using a fine nail art brush.
If detailed faces are difficult, create simple green-and-black accent nails instead.
23. Halloween Aura Nails


Aura nails can be adapted into a spooky-season manicure by using dark colors.
Try an orange-and-black aura, purple-and-black aura, or red-and-black combination.
Add a tiny ghost, spider, or crescent moon to one nail for a subtle Halloween touch.
24. Halloween Rhinestone Nails


If you prefer glam over creepy, add rhinestones to your Halloween manicure.
Start with black, burgundy, purple, or orange polish and add small silver or crystal embellishments.
A few strategically placed rhinestones can make even a simple Halloween manicure look luxurious.
25. Mix-and-Match Halloween Nails


Can’t choose just one design?
Mix pumpkins, ghosts, bats, spider webs, stars, and black French tips across different nails.
The key is to keep the color palette consistent. Black, orange, white, and nude create an easy combination that prevents the manicure from looking too busy.
Mix-and-match Halloween manicures are a popular way to combine several seasonal motifs while keeping the overall look cohesive.
Halloween Nail Designs for Short Nails
Short nails can look just as festive as long nails.
The best approach is to use small, simple details rather than trying to fit a complicated illustration onto every nail.
Good options include:
- Tiny ghosts
- Mini pumpkins
- Black French tips
- Spider webs
- Small bats
- Orange-and-black color blocking
- Simple eyeballs
- Tiny stars and moons
- Halloween stickers
A nude or sheer base can also make short nails appear clean and less crowded.
Halloween Nail Designs for Long Nails
Long nails provide more room for detailed Halloween artwork.
Almond, coffin, stiletto, and long square shapes work particularly well for dramatic designs.
Consider:
- Vampire nails
- Bloody drip nails
- Skeleton artwork
- Witchy moon designs
- Large spider webs
- 3D Halloween decorations
- Chrome Halloween nails
- Gothic French tips
If you want a statement manicure, long nails allow you to give every nail a different Halloween character.
Simple Halloween Nail Designs for Beginners
You don’t need professional nail-art skills to create a cute Halloween manicure.
Start with a simple base color and use one or two easy motifs.
Easy ideas include:
Ghosts: Make a white oval shape and add two black dots for eyes.
Pumpkins: Create a small orange circle, then add a black face.
Spider webs: Draw three or four intersecting lines and connect them with curved lines.
Bats: Create a small black body and add two simple wings.
Blood drips: Place red dots near the nail tip and pull them downward.
A dotting tool and a small nail art brush can handle many beginner-friendly Halloween designs.
Halloween Nail Designs Using Gel Polish
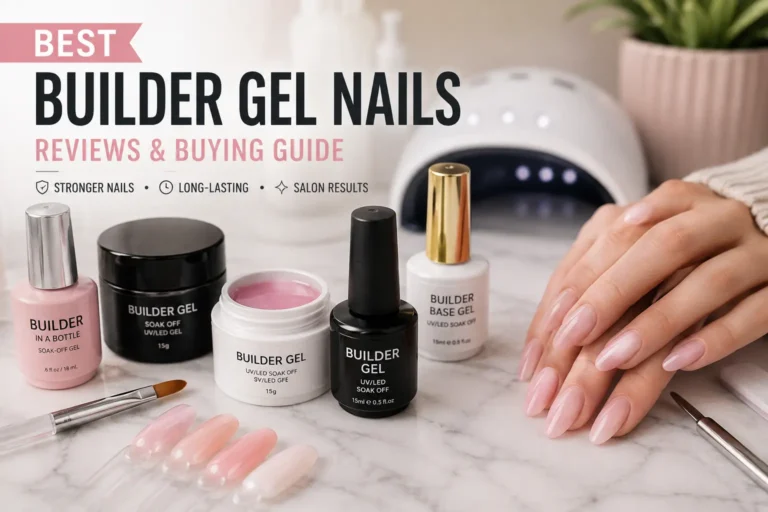
Gel polish is a popular choice for Halloween nail art because it gives a glossy finish and allows you to create detailed designs before curing each layer.
For a basic gel Halloween manicure, you can use:
- Black gel polish
- White gel polish
- Orange gel polish
- Red gel polish
- Nude gel polish
- Fine nail art brush
- Dotting tool
- Base coat
- Top coat
- UV/LED lamp
Make sure the gel system you use is compatible with your lamp and follow the manufacturer’s curing instructions.
If you prefer a gel-effect polish that does not require a UV/LED lamp, check the product description carefully. Some products marketed as gel or gel-effect polish are designed to air-dry rather than cure under a lamp.
Best Products for Creating Halloween Nail Designs
If you’re building a Halloween nail-art kit, focus on products that can be used for multiple designs rather than buying seasonal items that you’ll only use once.
1. Black Gel Nail Polish — Best for Halloween Bases
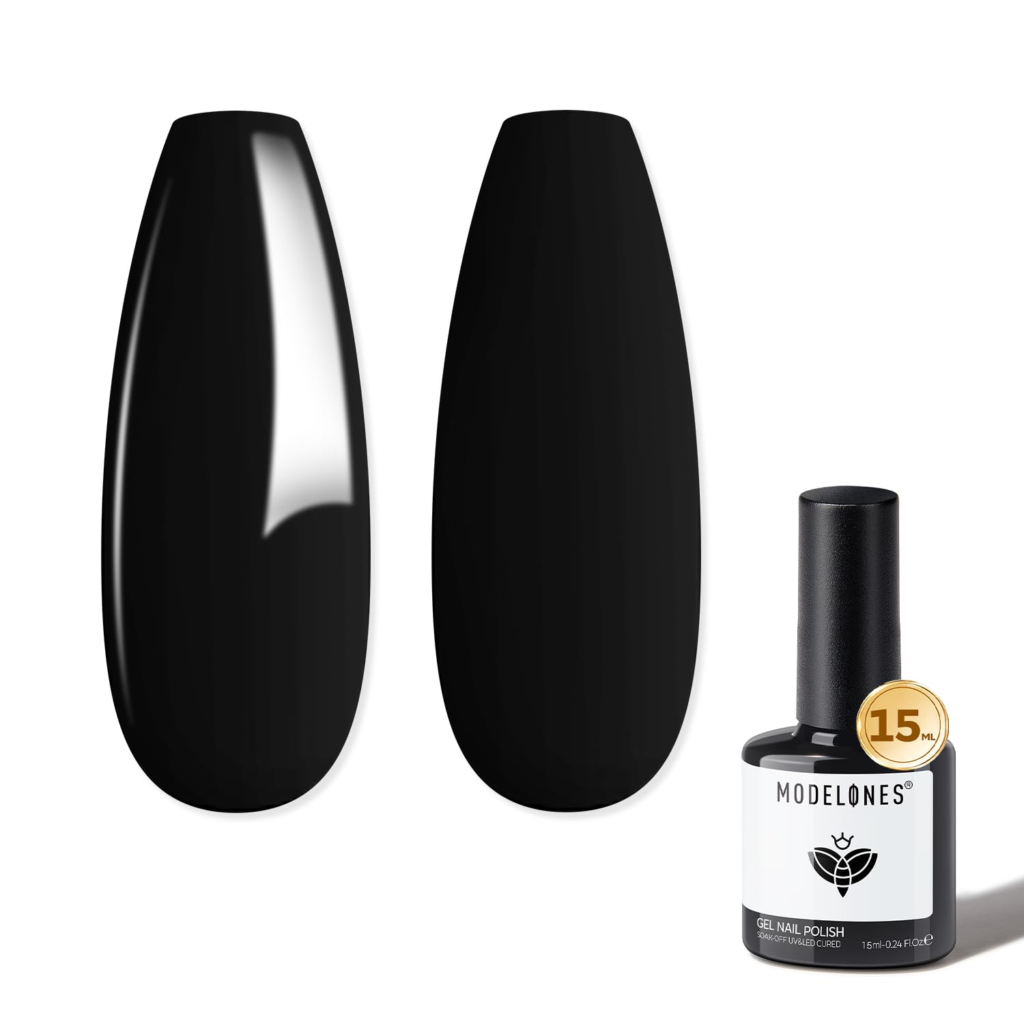
A highly pigmented black polish is one of the most useful colors for Halloween nail art.
You can use it for full-color manicures, French tips, spider webs, bats, skeletons, cat designs, and outlines.
2. Orange Gel Nail Polish — Best for Pumpkins
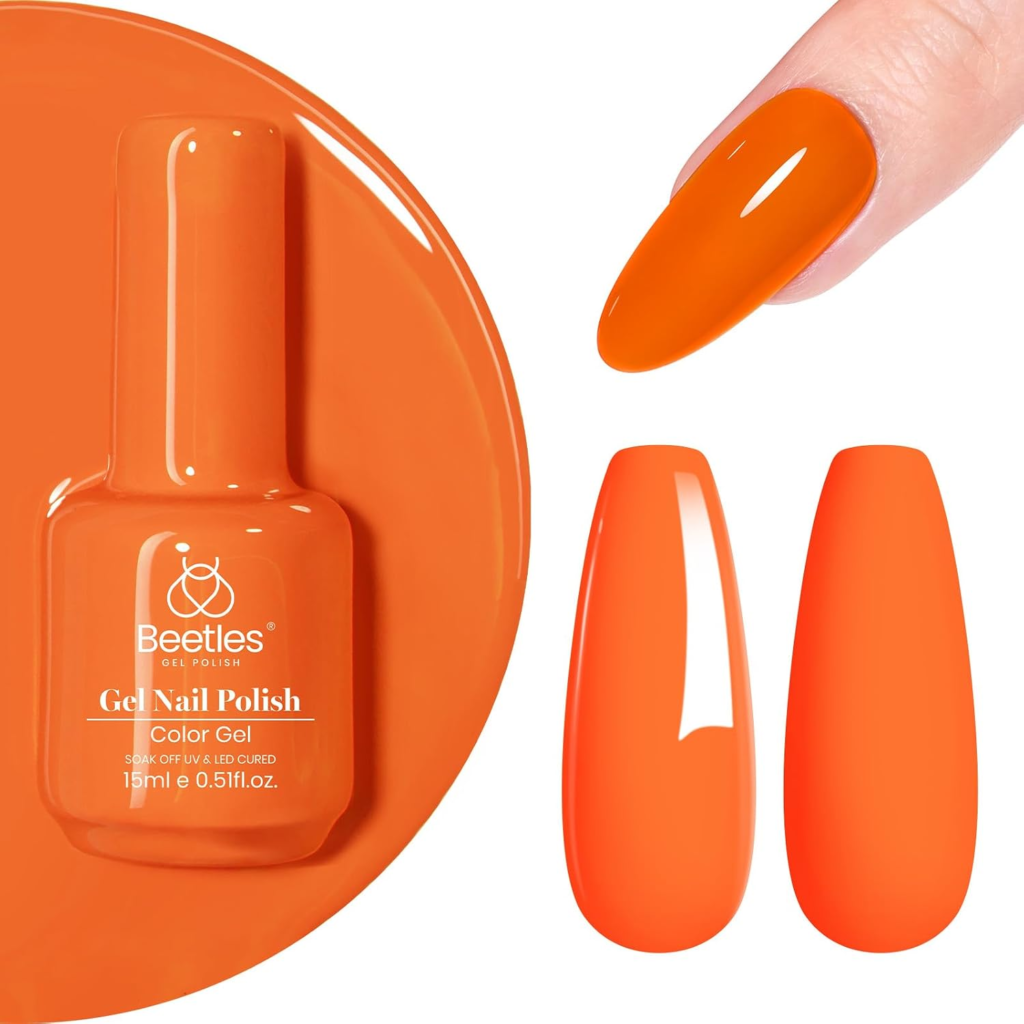
Orange is essential for pumpkin designs and classic Halloween color combinations.
Choose a shade with good pigmentation so small pumpkin details don’t require too many layers.
3. Halloween Nail Stickers — Best for Beginners
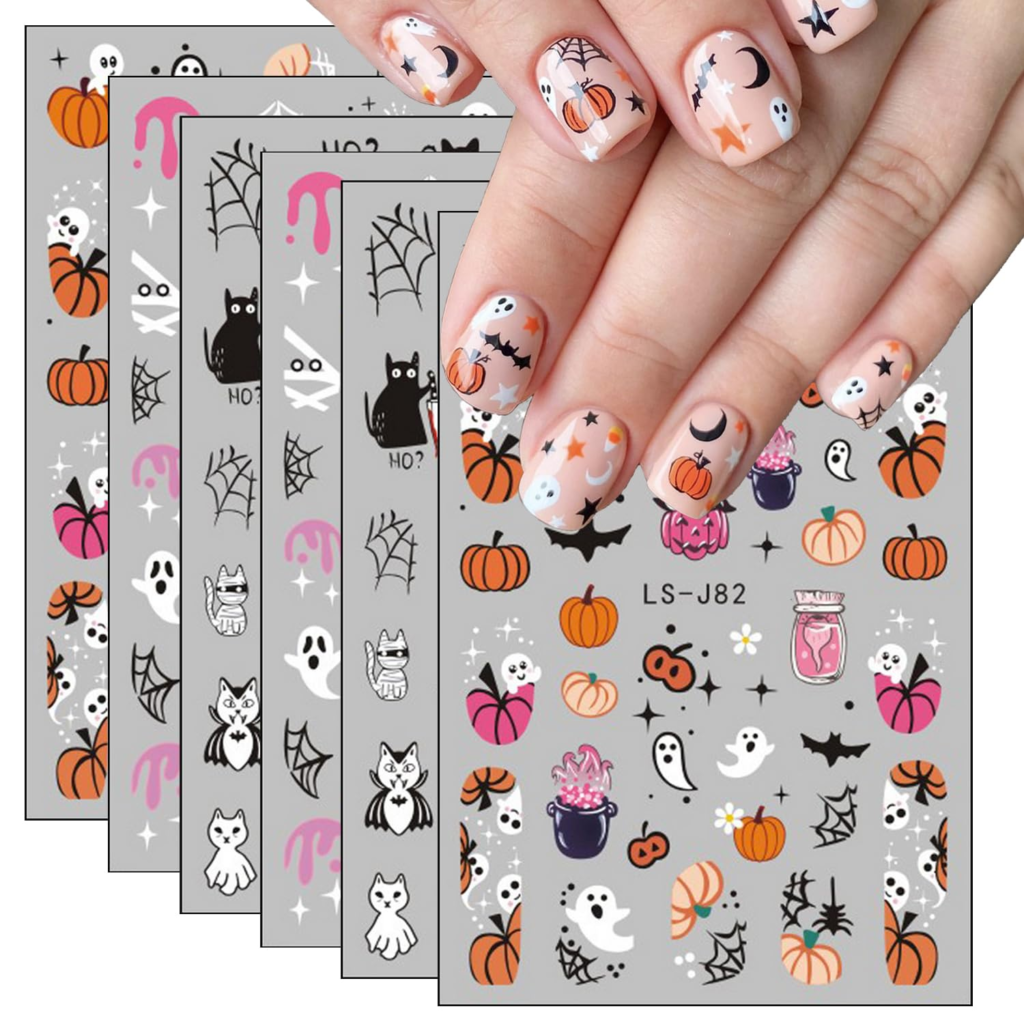
Halloween decals are one of the easiest ways to create detailed nail art without having to paint everything yourself.
Look for sheets containing several designs so you can create multiple manicures.
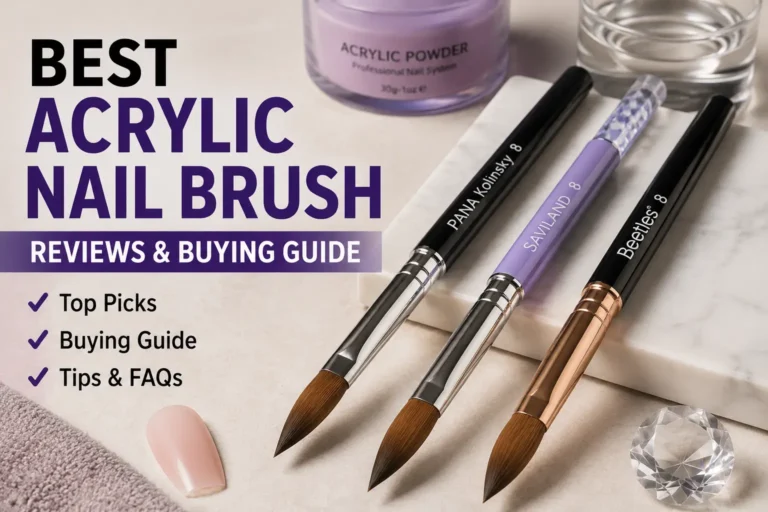
4. Nail Art Brushes — Best for Detailed Designs
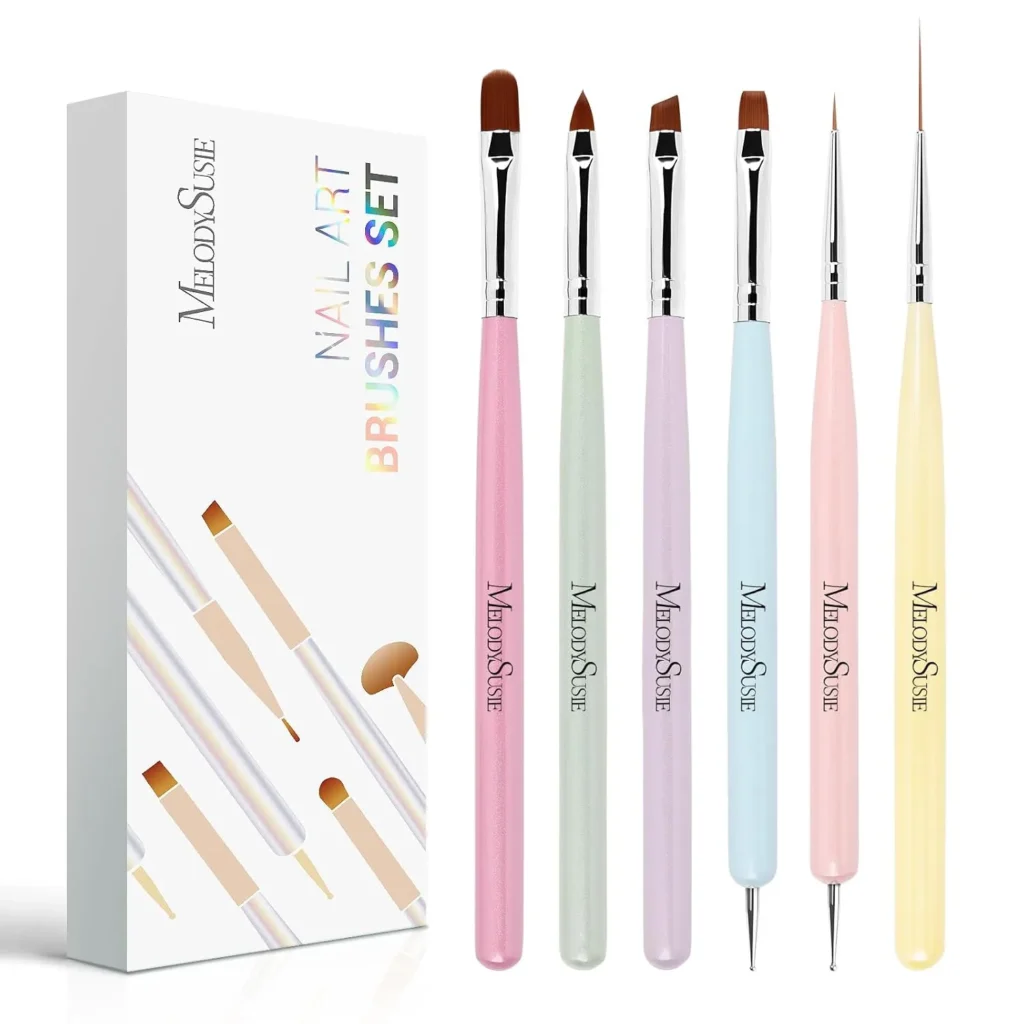
A small brush set gives you more control when painting spider webs, ghosts, bats, blood drips, and tiny lines.
A liner brush is particularly useful for thin details.
5. Dotting Tools — Best for Easy DIY Nail Art
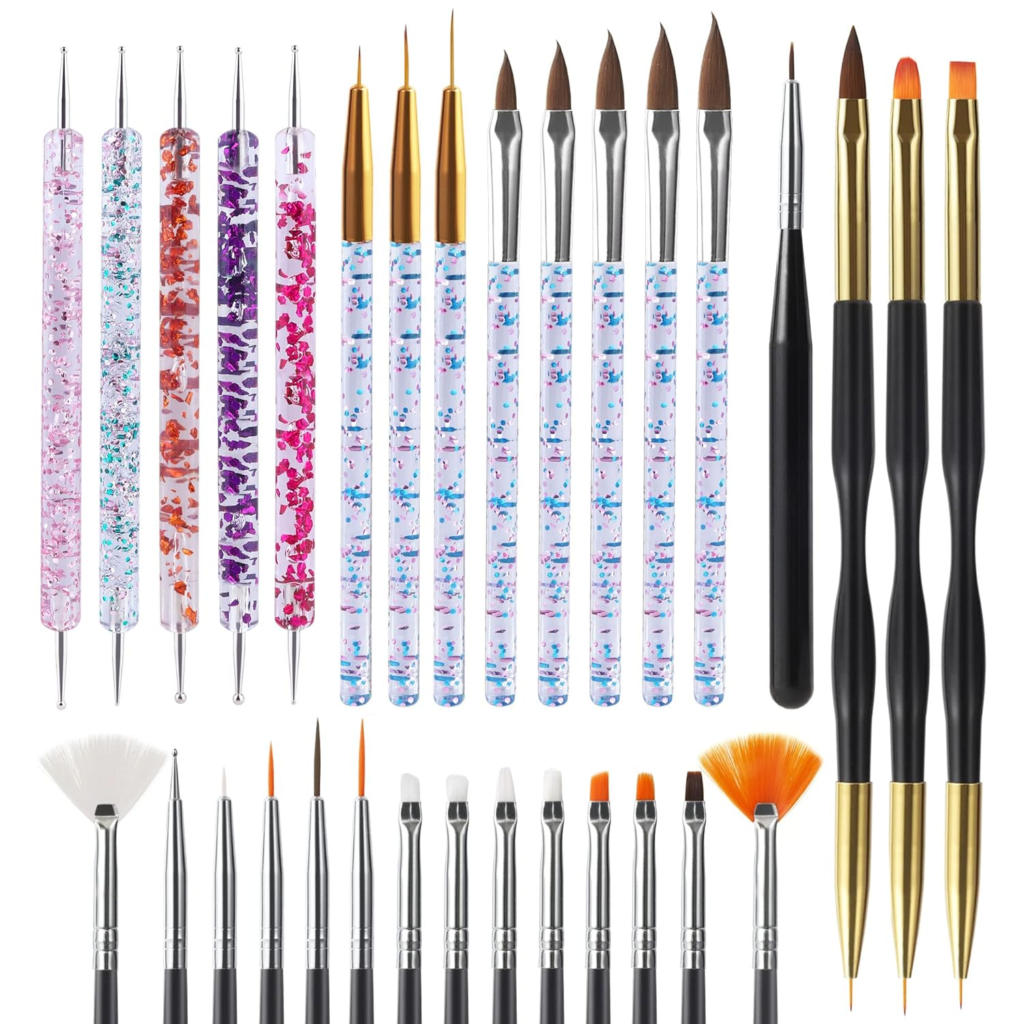
Dotting tools make it easier to create eyes, dots, spider bodies, pumpkin details, and other small shapes.
They’re especially useful for beginners.
6. UV/LED Nail Lamp — Best for Gel Manicures
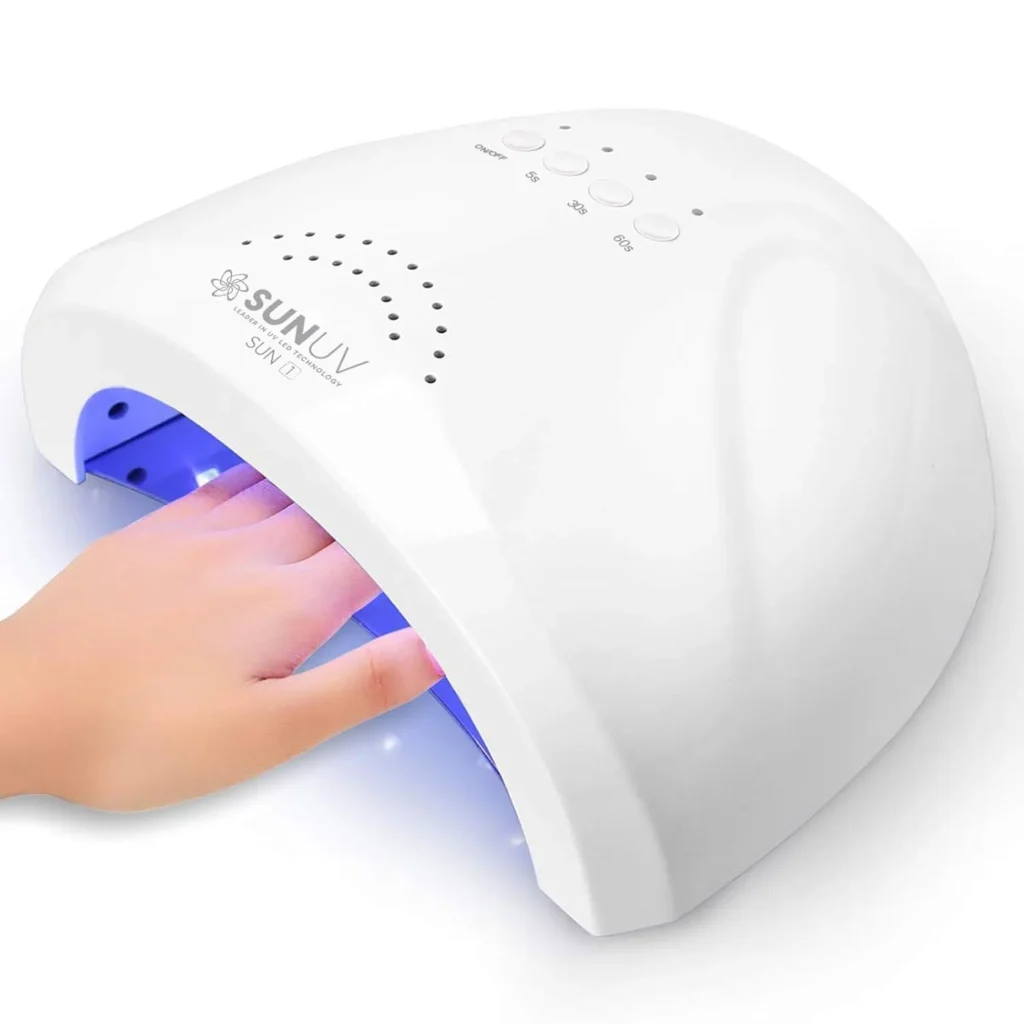
If you regularly use gel polish, a compatible UV/LED lamp is an important part of your setup.
Choose one designed to cure your particular gel system and follow the manufacturer’s instructions.
7. Nail Rhinestones — Best for Glam Halloween Nails
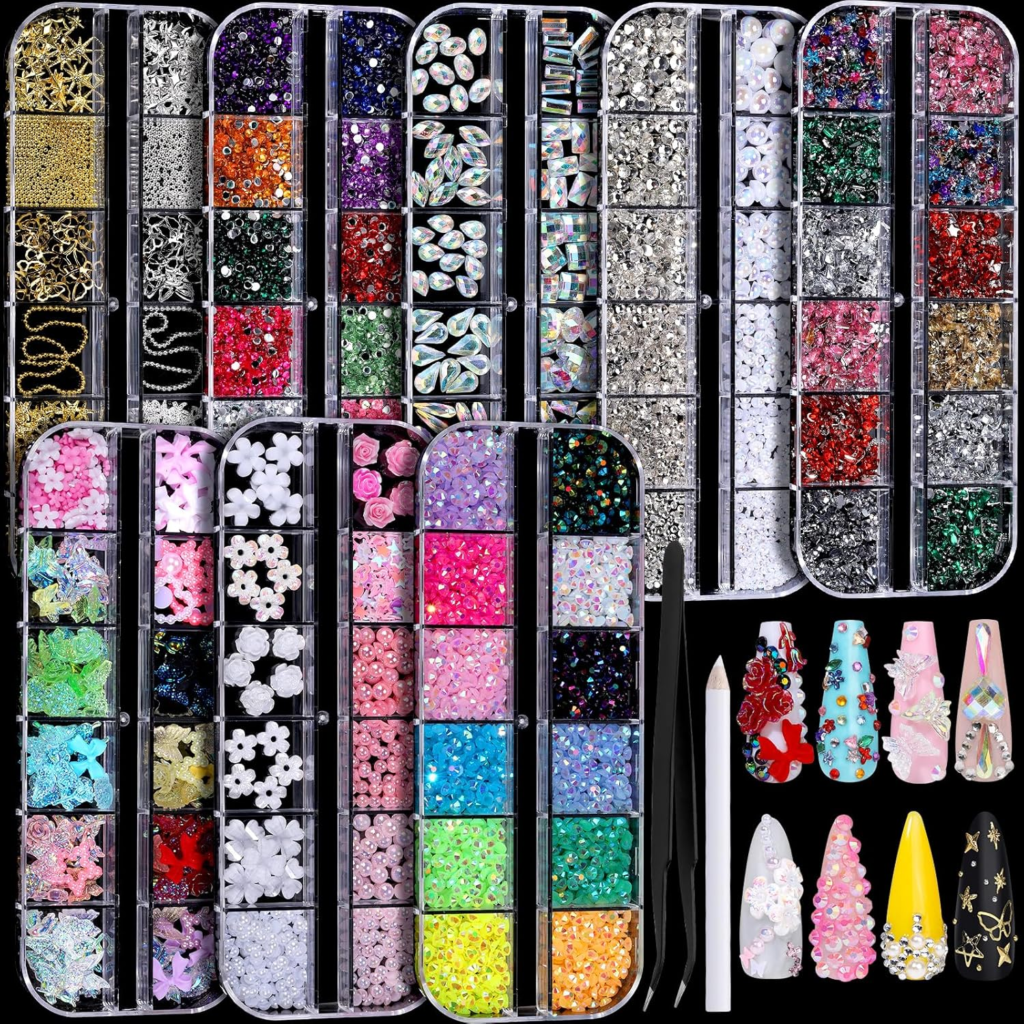
Rhinestones are ideal for creating glamorous Halloween manicures.
Use silver, clear, black, red, or iridescent stones depending on your design.
8. Nail Art Kit — Best All-in-One Option
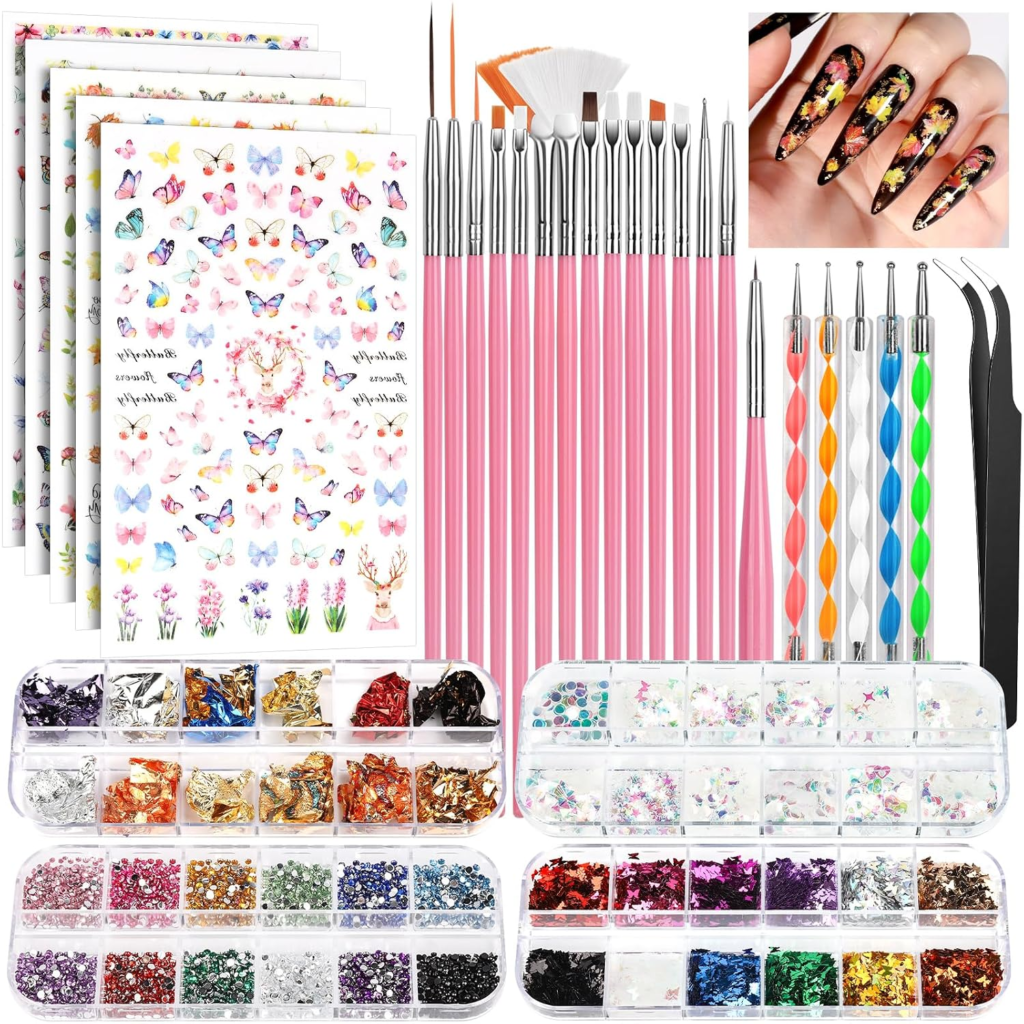
If you’re new to nail art, an all-in-one kit can be more convenient than purchasing every tool separately.
Look for a kit that includes detail brushes, dotting tools, striping tools, and storage accessories.
How to Make Halloween Nail Designs at Home
Creating Halloween nail art at home is easier when you work in layers.
Step 1: Prepare Your Nails
Remove old polish and gently clean your nails.
Shape them evenly and push back your cuticles carefully.
Step 2: Apply a Base Coat
Apply a thin base coat to create a smooth surface.
Allow it to dry or cure according to the product instructions.
Step 3: Add Your Main Color
Choose your Halloween base color.
Black, nude, orange, white, burgundy, and purple are all excellent choices.
Step 4: Create Your Halloween Details
Use a fine brush for lines and a dotting tool for small circles and details.
Don’t try to create too much artwork at once.
Step 5: Cure Gel Polish When Required
If you’re using a curing gel system, cure each layer according to the manufacturer’s instructions.
Step 6: Apply Top Coat
Finish with a suitable top coat to protect the design and add shine.
For matte Halloween nails, use a compatible matte top coat instead.
Tips for Making Halloween Nail Art Last Longer
A beautiful manicure can lose its appeal quickly if it starts chipping.
Follow these tips to improve wear:
- Start with clean, dry nails.
- Avoid applying very thick polish layers.
- Seal the free edge of the nail when appropriate.
- Allow regular polish enough time to dry.
- Cure gel products according to manufacturer instructions.
- Avoid picking or peeling gel polish.
- Wear gloves when doing household cleaning.
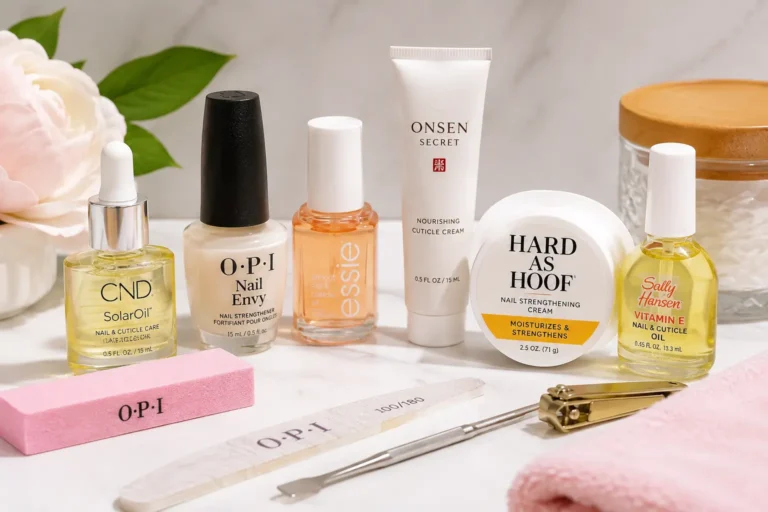
- Use cuticle oil regularly.
- Avoid using your nails as tools.
- Protect rhinestones with an appropriate top coat when compatible.
Common Mistakes to Avoid
Applying Too Much Polish
Thick layers can lead to uneven results and may interfere with proper drying or curing.
Thin layers usually provide better control.
Making Every Nail Too Detailed
A manicure can quickly look crowded when every nail contains multiple characters.
Use accent nails to highlight detailed artwork.
Using the Wrong Lamp for Gel Polish
Not every lamp works equally with every gel system.
Always check the manufacturer’s curing recommendations.
Skipping Nail Preparation
Even a beautiful design can look messy if the nail surface isn’t properly prepared.
Take a few minutes to clean and shape your nails before applying polish.
Peeling Off Gel Polish
Peeling gel polish can damage the natural nail surface.
Use the removal method recommended for your specific product instead.
FAQs
Ghosts, pumpkins, spider webs, bats, black French tips, and orange-and-black designs are among the most recognizable Halloween styles. More recent inspiration also includes negative space, chrome, aura effects, and wearable minimalist designs.
Black, orange, white, burgundy, deep purple, dark green, and nude are excellent Halloween colors. You can also use chrome or neon shades for a more modern look.
Ghosts, dots, pumpkins, spider webs, black French tips, and simple bats are beginner-friendly choices.
Yes. Short nails work especially well with tiny ghosts, pumpkins, spider webs, bats, French tips, and simple accent designs.
Start with a clean base, choose two or three Halloween colors, and use a fine nail art brush or dotting tool for simple details. Stickers and decals are another easy option if you’re not comfortable painting freehand.
Final Verdict
The best Halloween nail designs don’t have to be complicated.
Whether you prefer cute ghosts, classic pumpkins, creepy spiders, gothic black nails, glamorous rhinestones, or dramatic blood-drip artwork, there is a Halloween manicure for every style.
For beginners, start with simple designs such as ghost accents, black French tips, pumpkins, or spider webs. If you have more experience, experiment with chrome, aura effects, detailed skeletons, witchy artwork, and mix-and-match sets.
For an at-home manicure, a few versatile gel colors, a fine nail art brush, a dotting tool, and Halloween decals can give you enough flexibility to create dozens of different looks.
The most important thing is to choose a design that matches your nail length, skill level, and personal style—and have fun with it.
Useful Outbound Resources
For additional Halloween nail inspiration and professional tutorials, check:
- OPI Halloween Nail Art Ideas
- Allure Halloween Nail Art Ideas
- Glamour Halloween Nail Inspiration
- ELLE Halloween Nail Inspiration
For more nail tutorials, product reviews, and beauty tips, visit our homepage.