
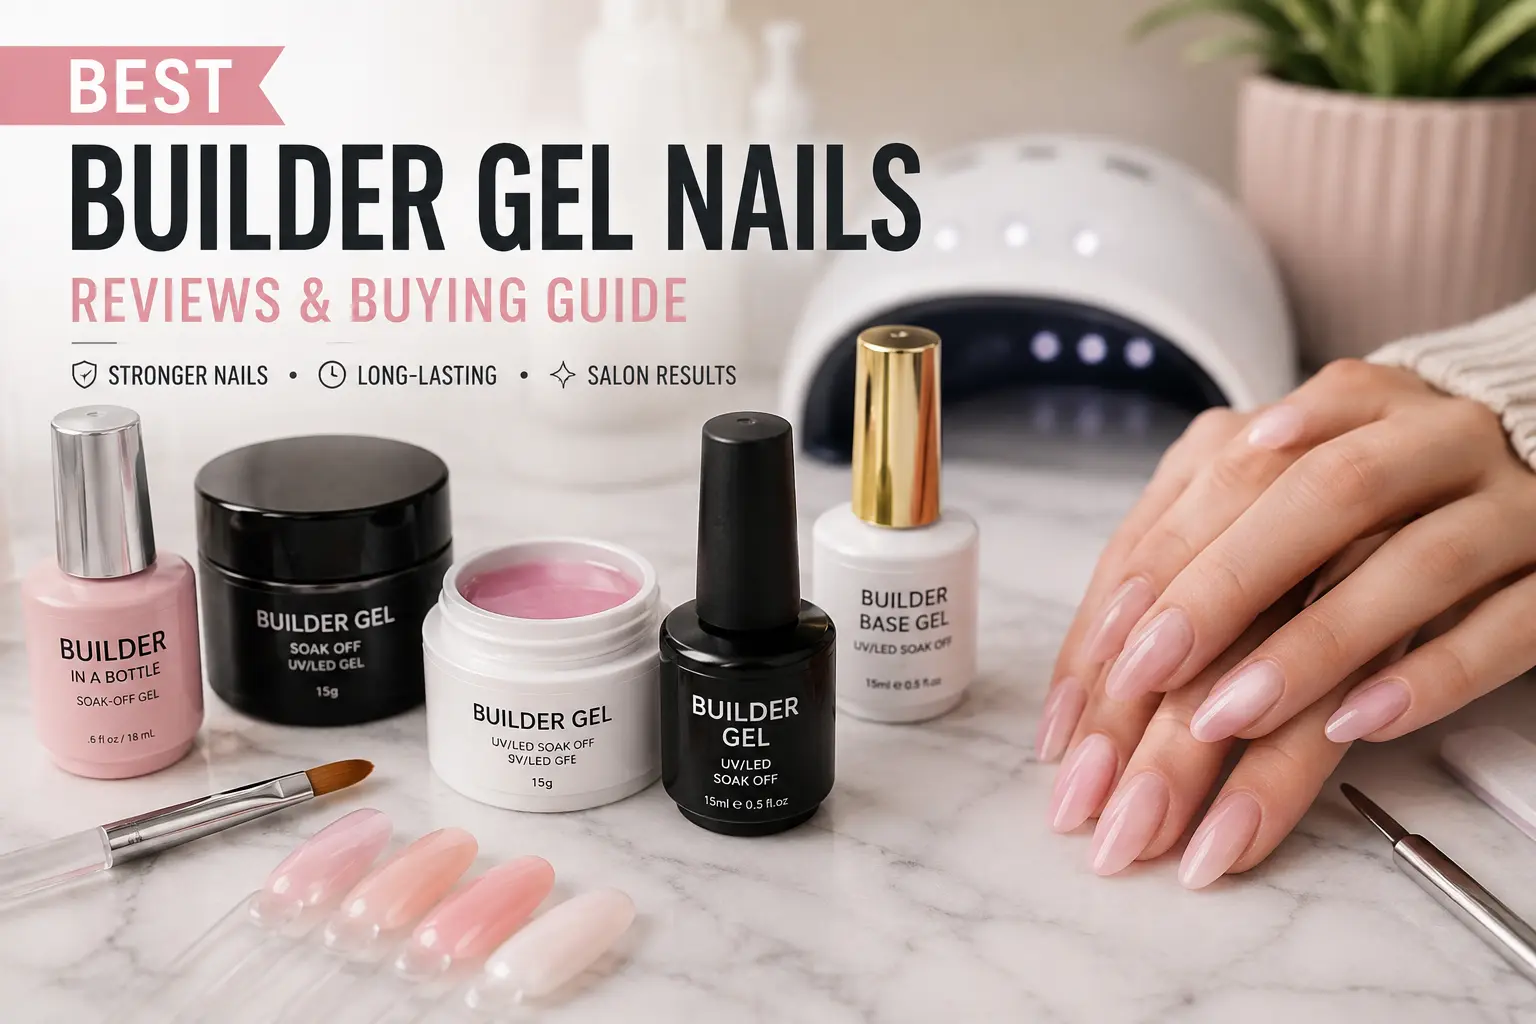
Builder Gel Nails: Everything You Need to Know
If you want stronger, longer, and more natural-looking manicures, builder gel nails are one of the best options available. Builder gel helps reinforce weak natural nails, repair broken nails, and even create beautiful nail extensions without the thickness of traditional acrylics.
Unlike regular gel polish, builder gel adds strength and structure while still providing a lightweight feel. It has become a favorite among both nail technicians and DIY nail enthusiasts because it offers excellent durability with a glossy, salon-quality finish.
In this guide, you’ll learn what builder gel nails are, their benefits, how to choose the right builder gel, and the best builder gel products worth buying.
Quick Comparison Table
Product | View on Amazon | Best For | Type | Cure | Size | Ratings |
|---|---|---|---|---|---|---|
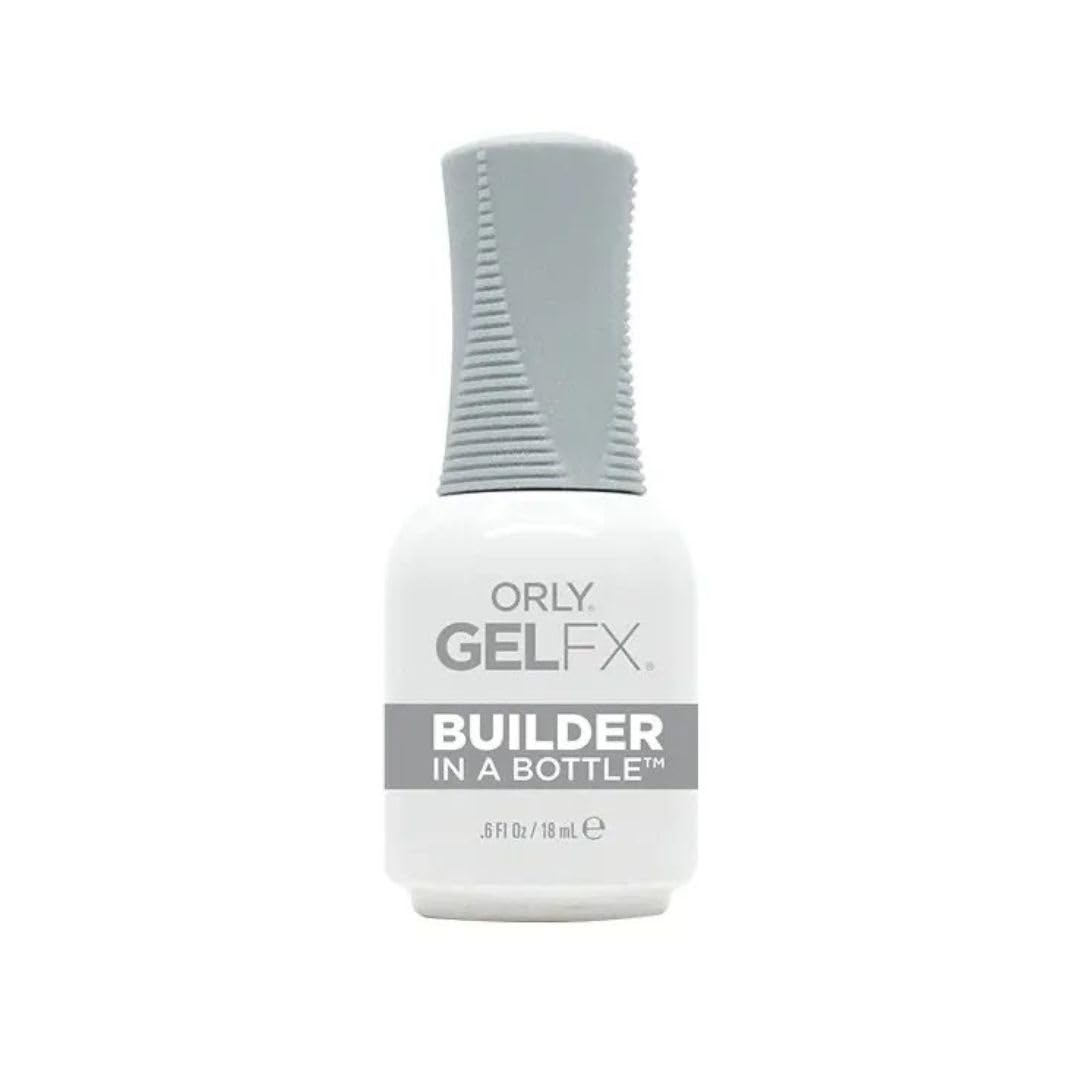 Orly Builder In A Bottle | Beginners | BIAB | LED/UV | 18ml | ⭐⭐⭐⭐⭐ | |
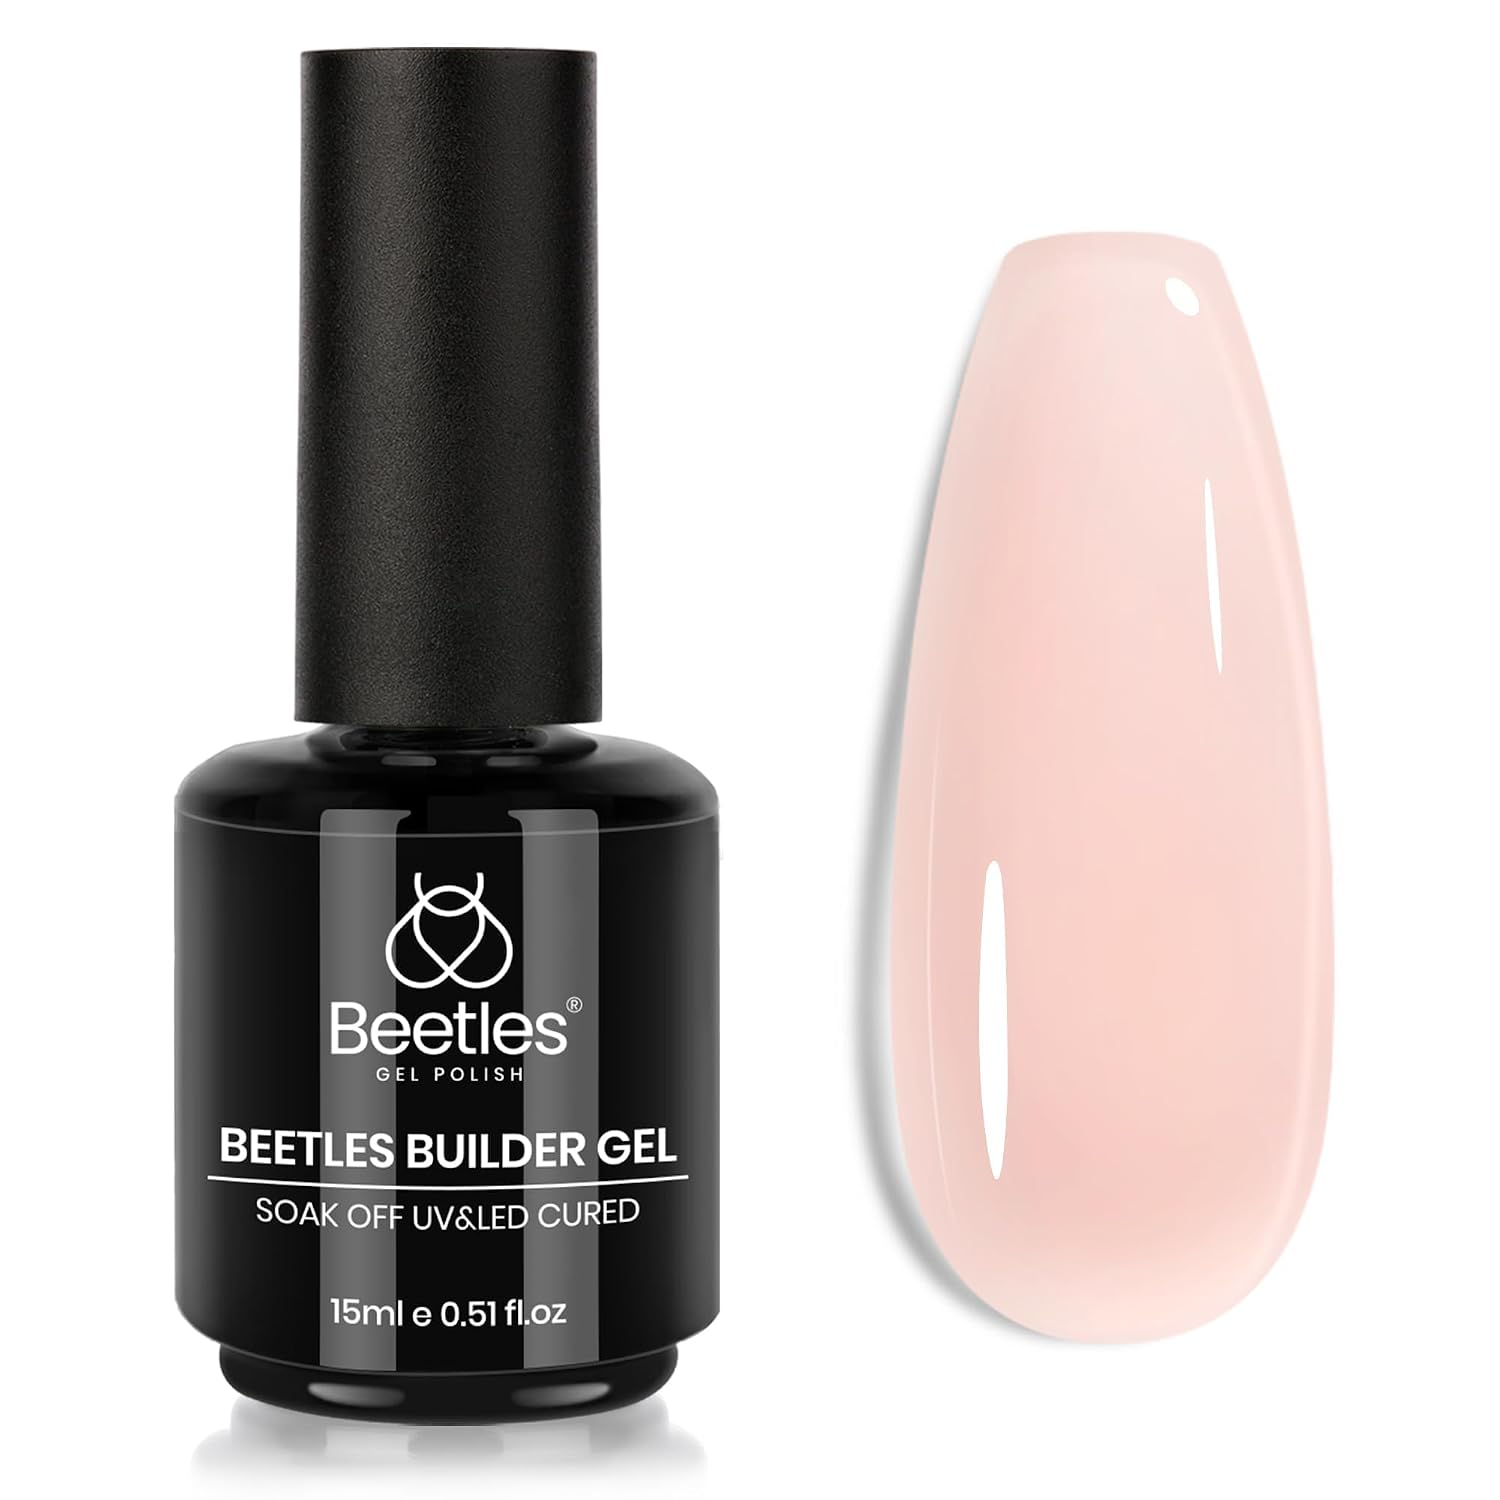 Beetles Builder Nail Gel | Budget Choice | Builder Gel | LED/UV | 15ml | ⭐⭐⭐⭐☆ | |
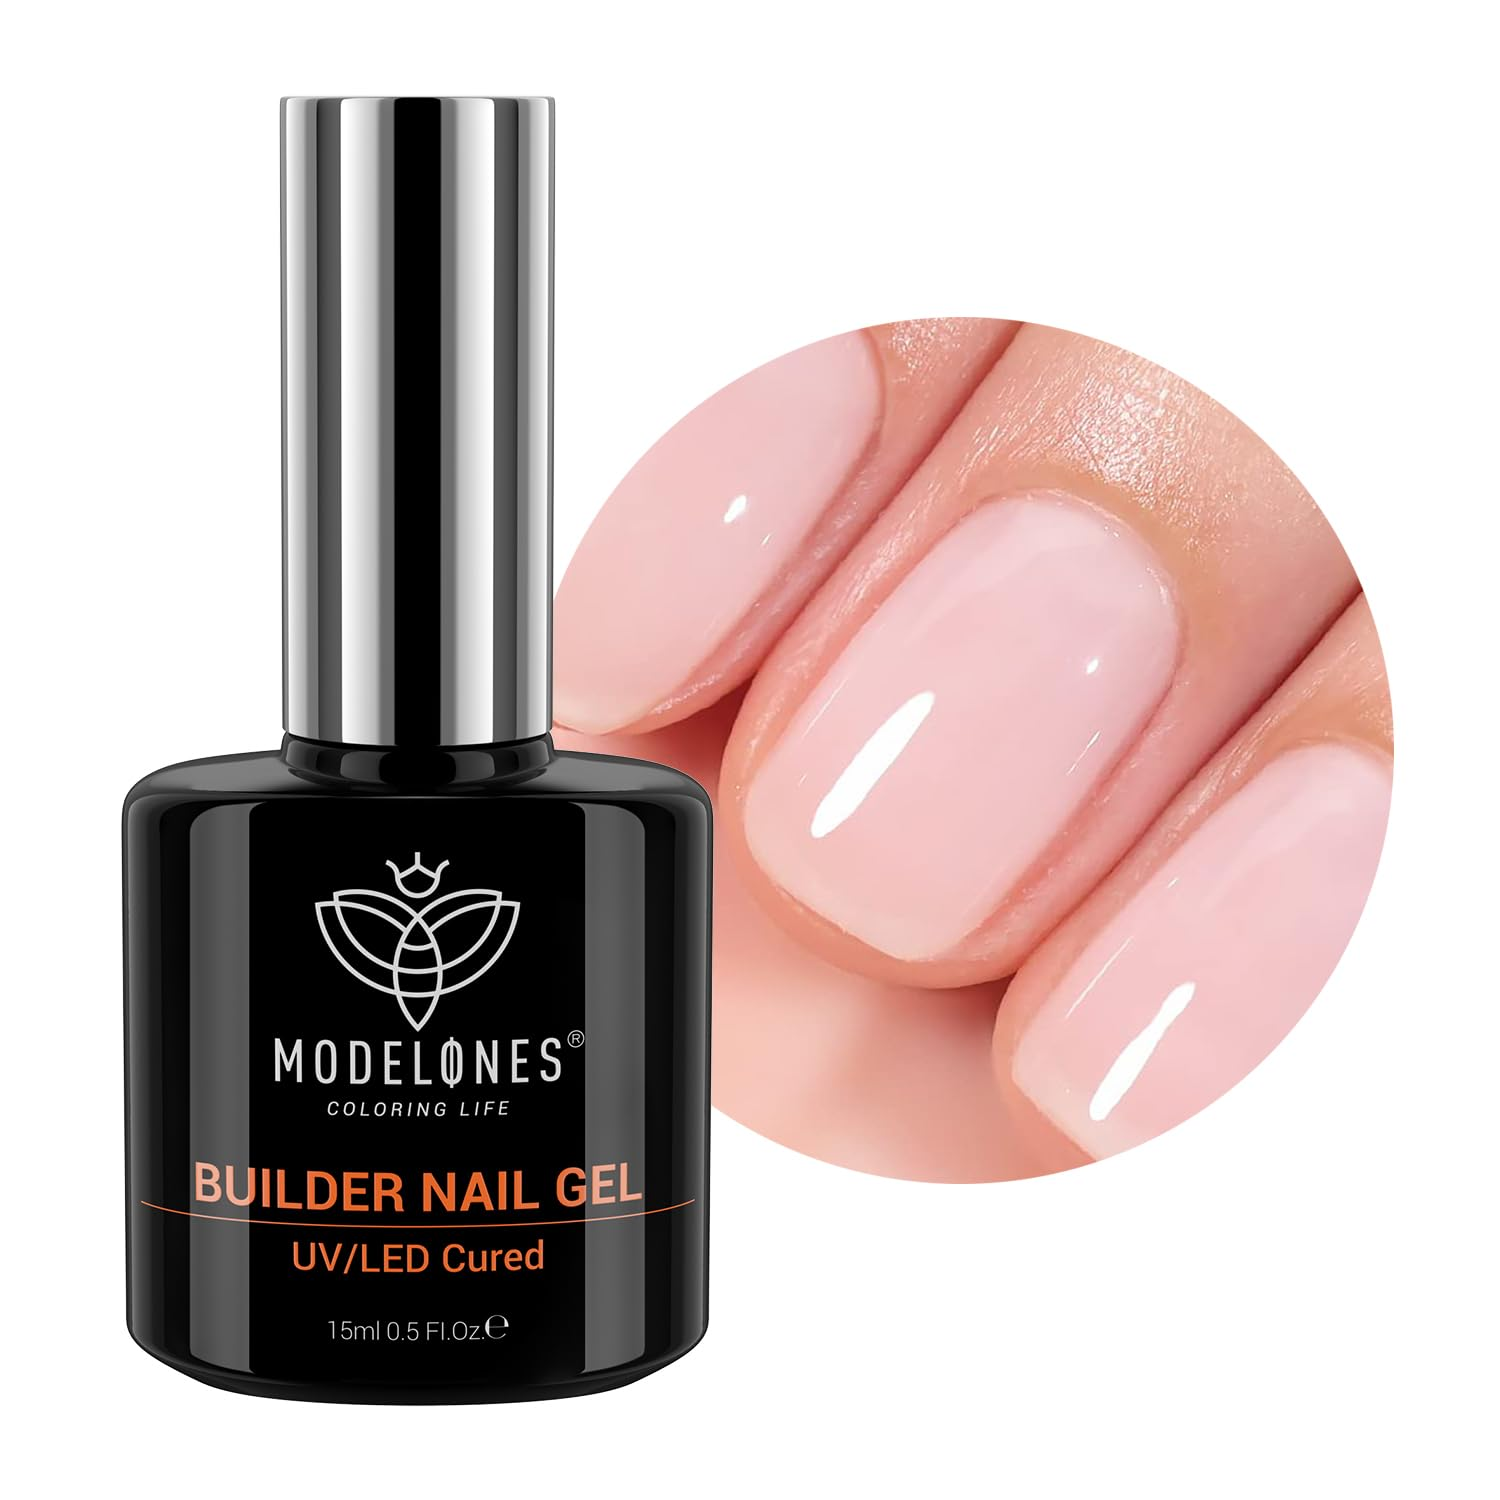 Modelones Builder Nail Gel | Nail Extensions | Builder Gel | LED/UV | 15ml | ⭐⭐⭐⭐⭐ | |
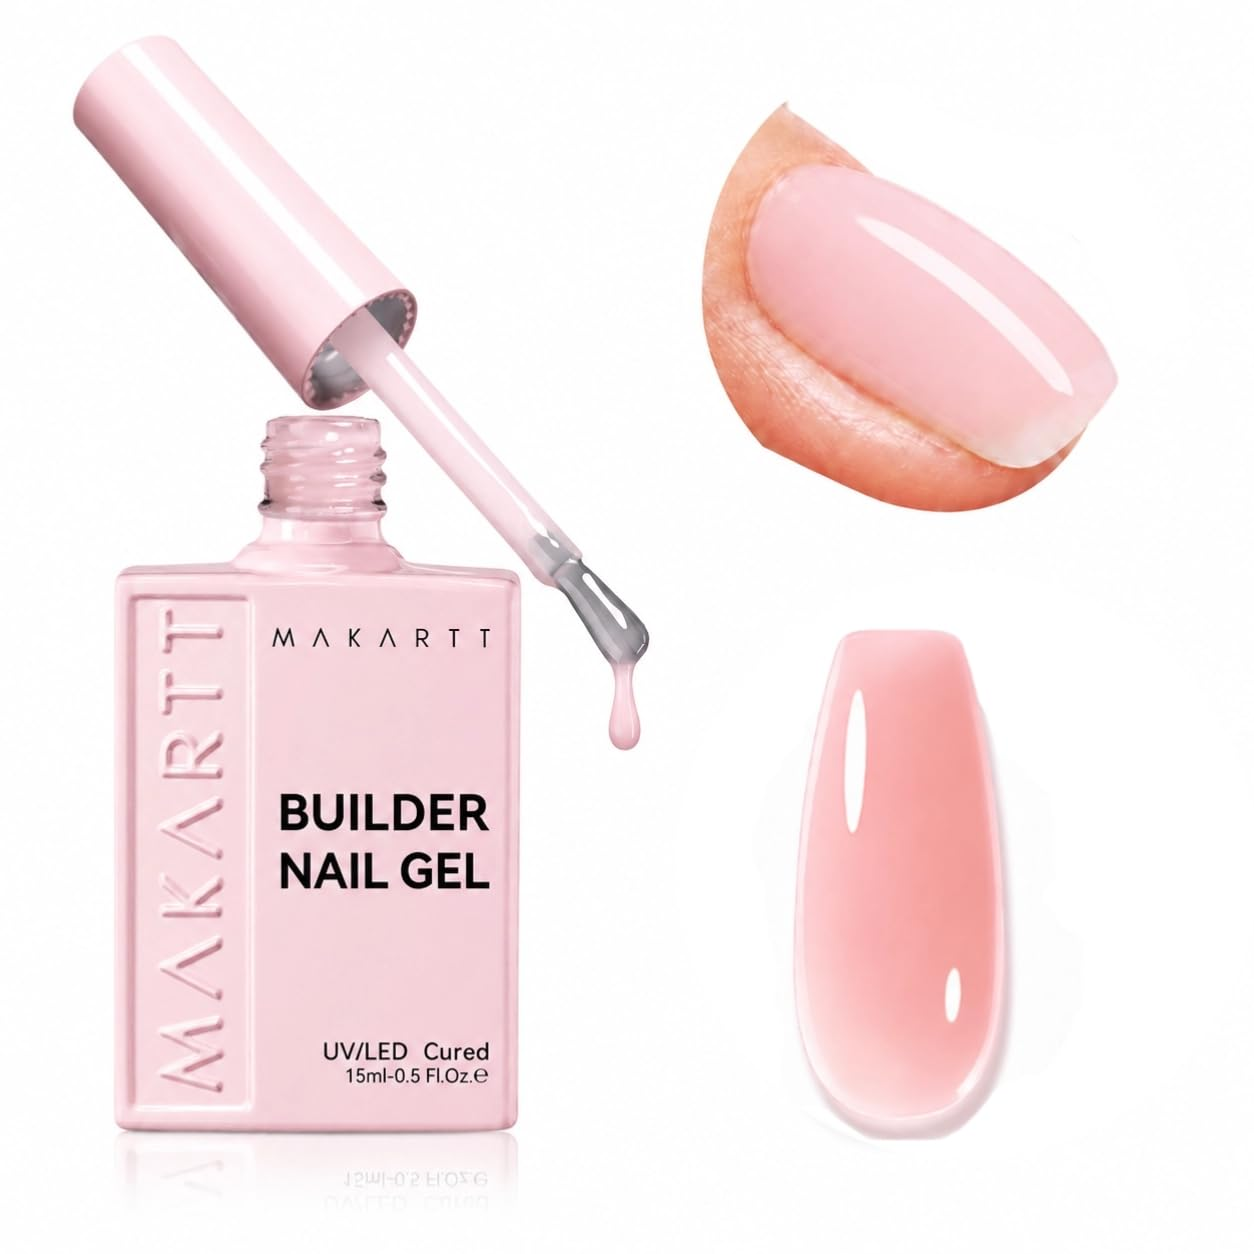 Makartt Builder Gel | Professional Use | Thick Builder Gel | LED/UV | 30ml | ⭐⭐⭐⭐⭐ | |
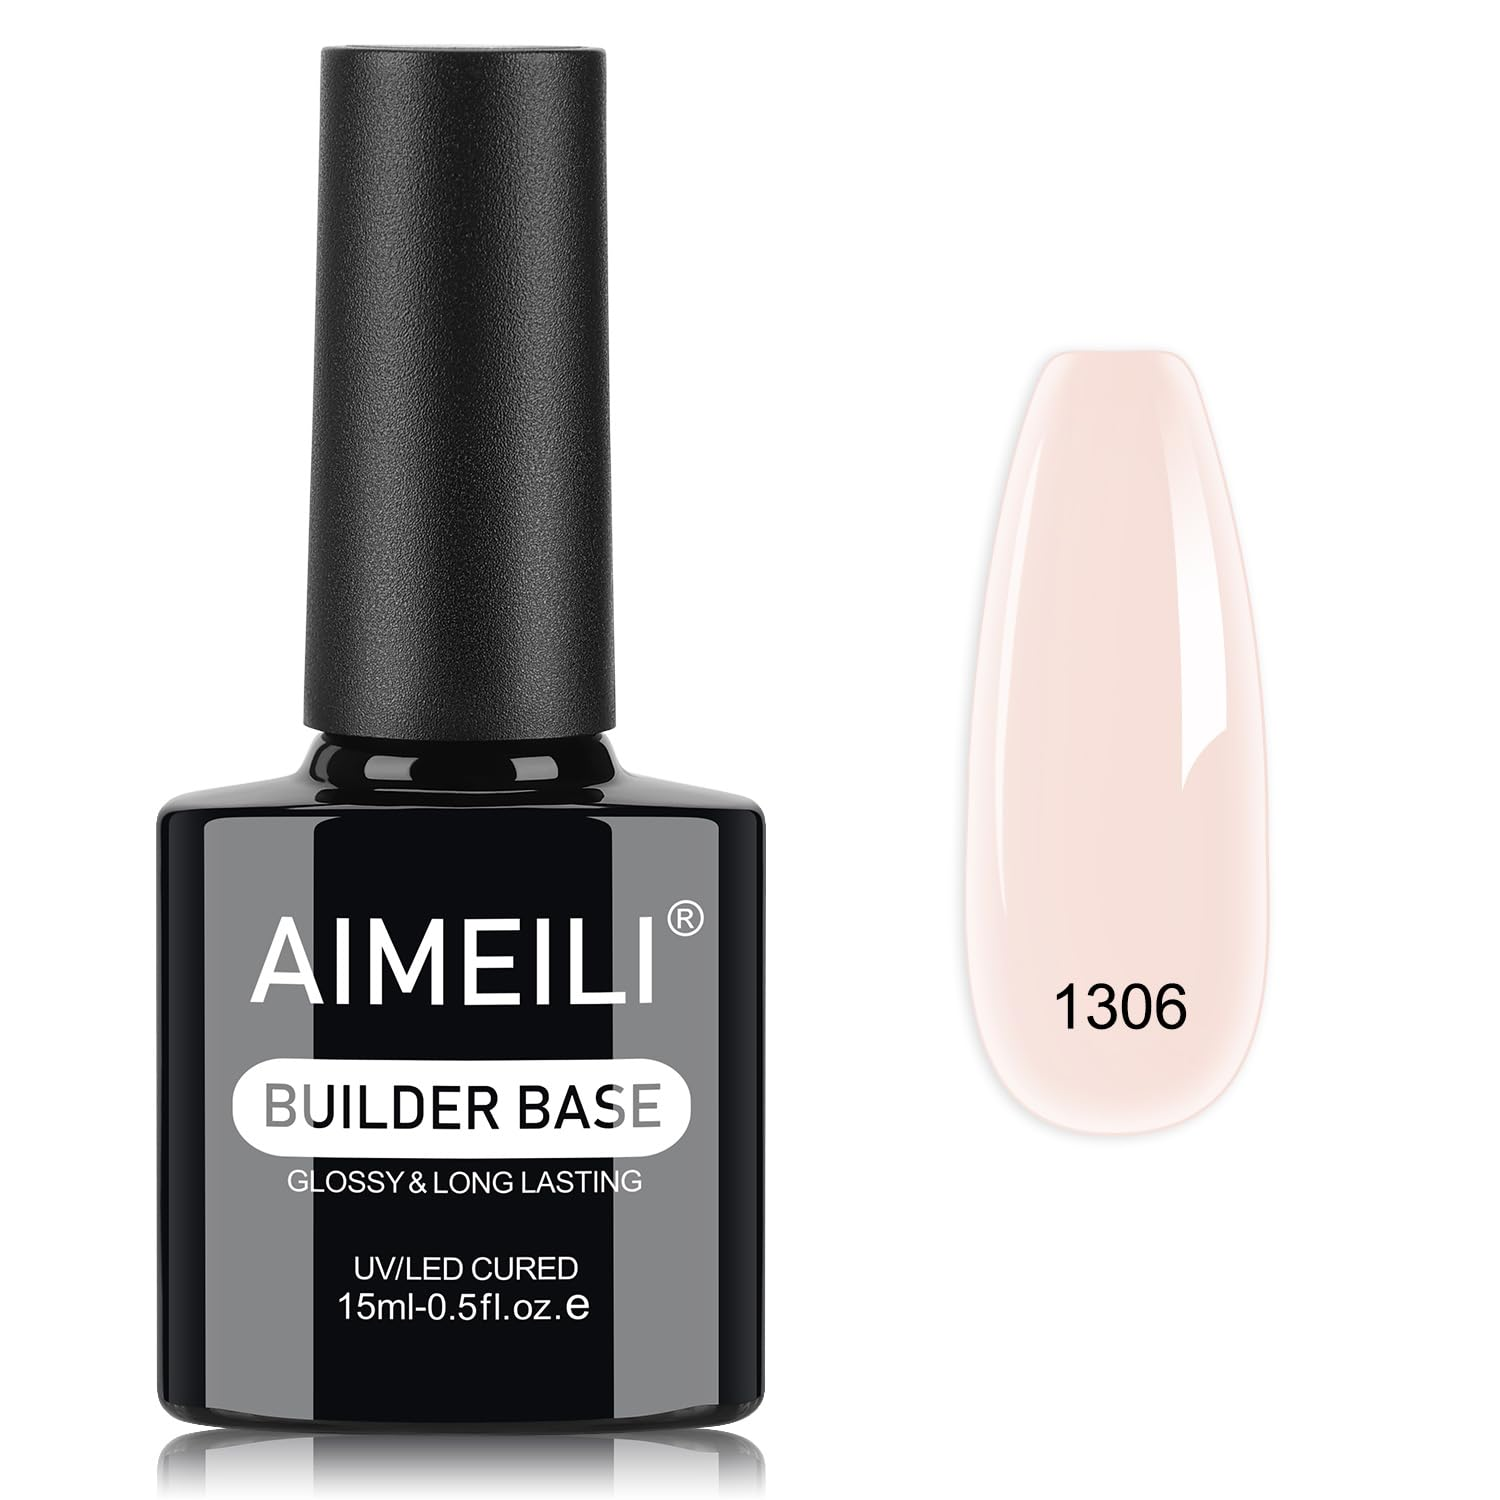 Aimeili Builder Base Gel | Natural Overlay | Builder Base | LED/UV | 15ml | ⭐⭐⭐⭐☆ | |
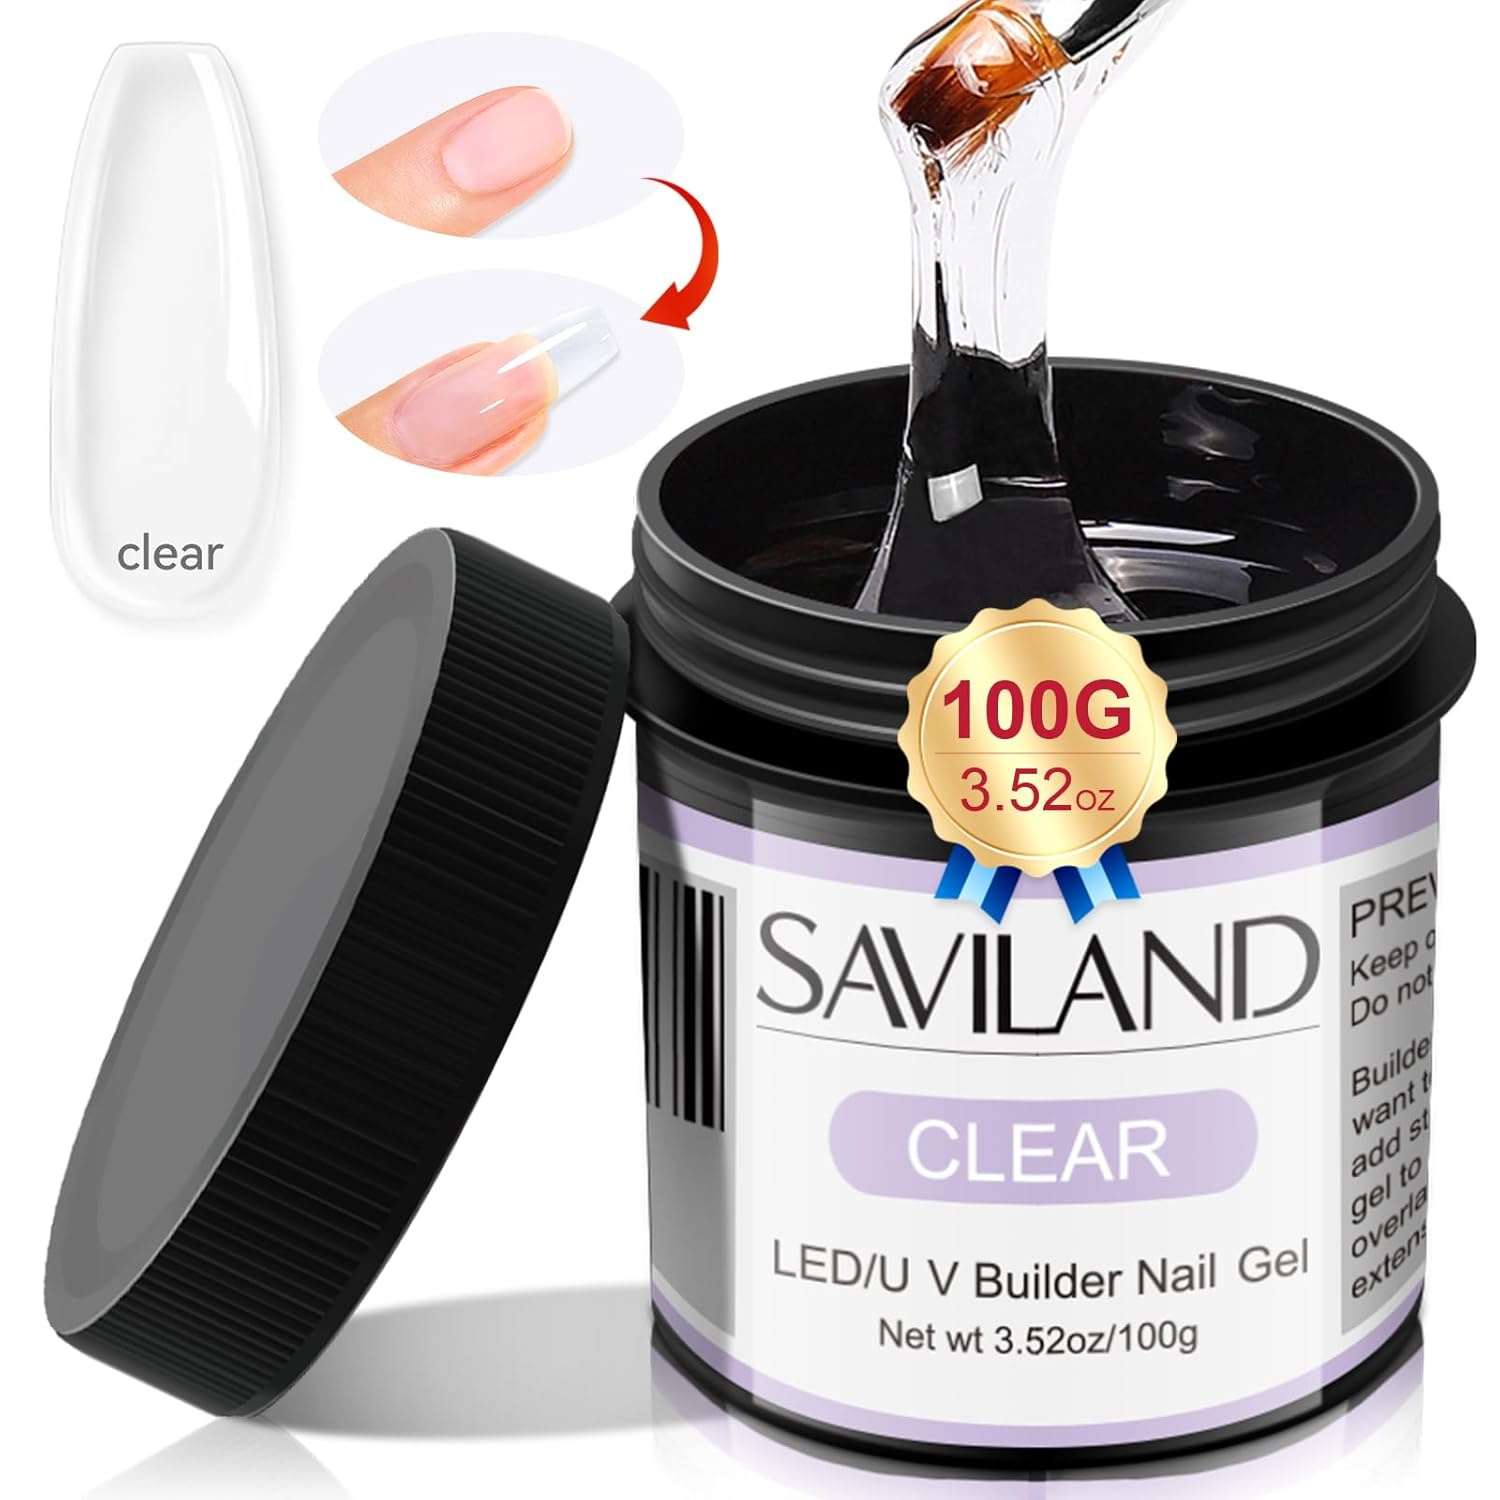 Saviland Builder Gel | Value Pack | Builder Gel | LED/UV | Multiple Sizes | ⭐⭐⭐⭐☆ | |
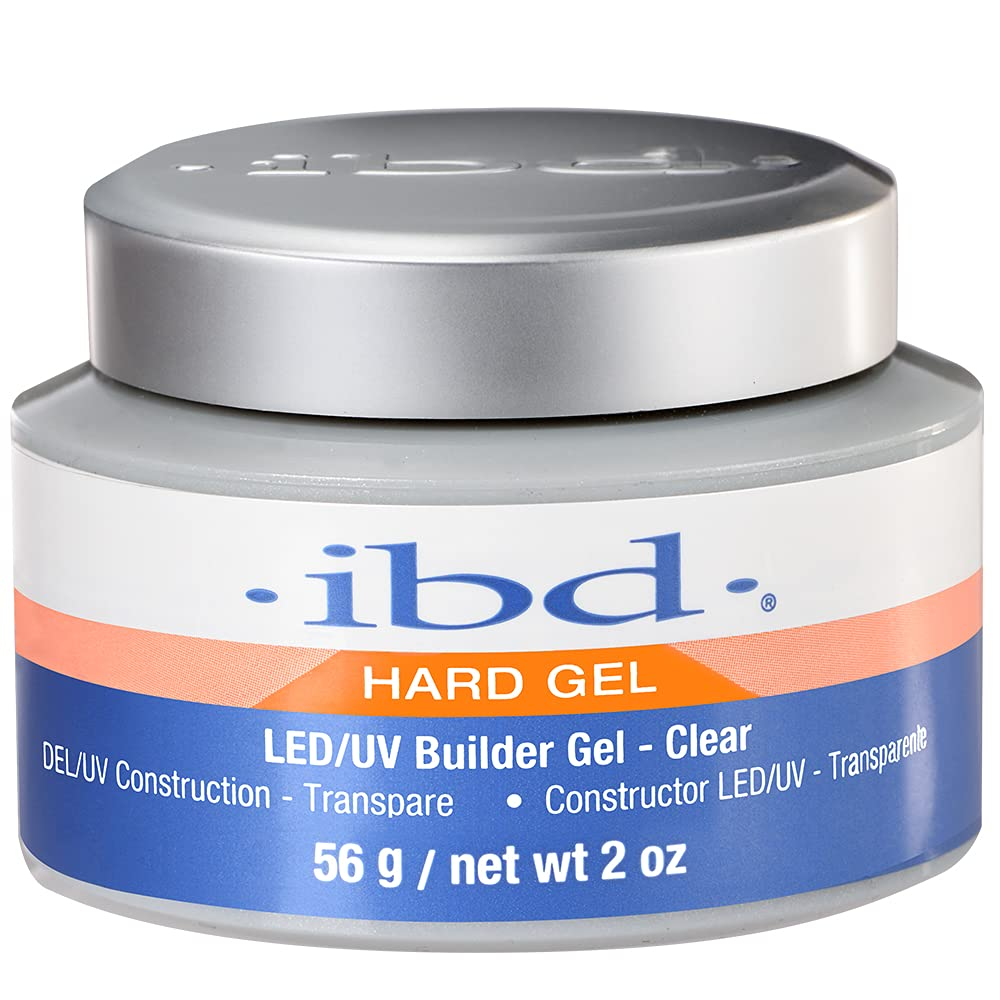 IBD Builder Gel | Salon Quality | Hard Builder Gel | LED/UV | 56g | ⭐⭐⭐⭐⭐ |
Best Builder Gel Nails Products
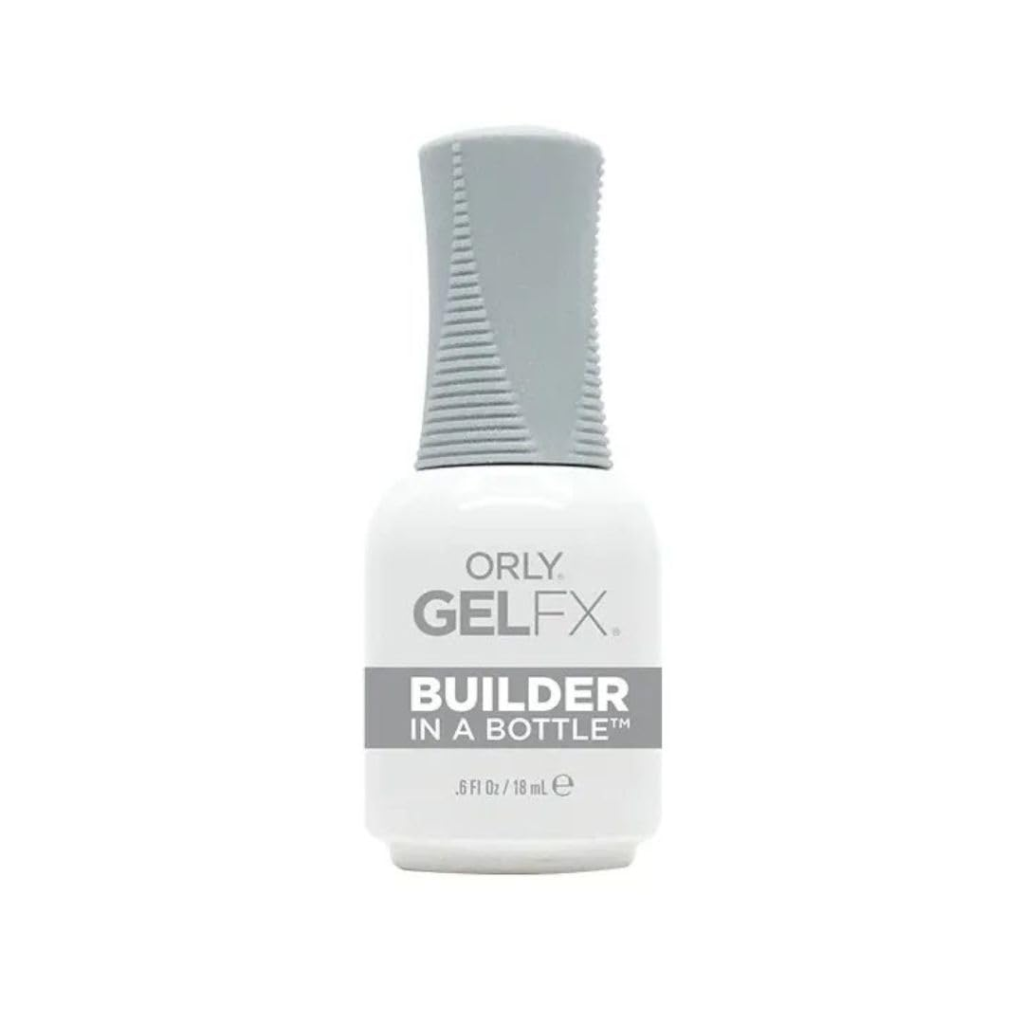
1. Orly Builder In A Bottle – Best Overall
Orly Builder In A Bottle is one of the easiest builder gels to use for both beginners and professionals. Its self-leveling formula creates smooth overlays with minimal filing while adding impressive strength to natural nails. If you’re looking for salon-quality builder gel nails that last for weeks, this is an excellent premium choice.
Why We Like It
Orly Builder In A Bottle combines strength with easy application. The brush-on formula makes it ideal for beginners while providing professional-quality durability. It creates a smooth overlay that lasts for weeks without lifting.
Best For: Beginners, natural nail overlays, and salon-quality long-lasting manicures.
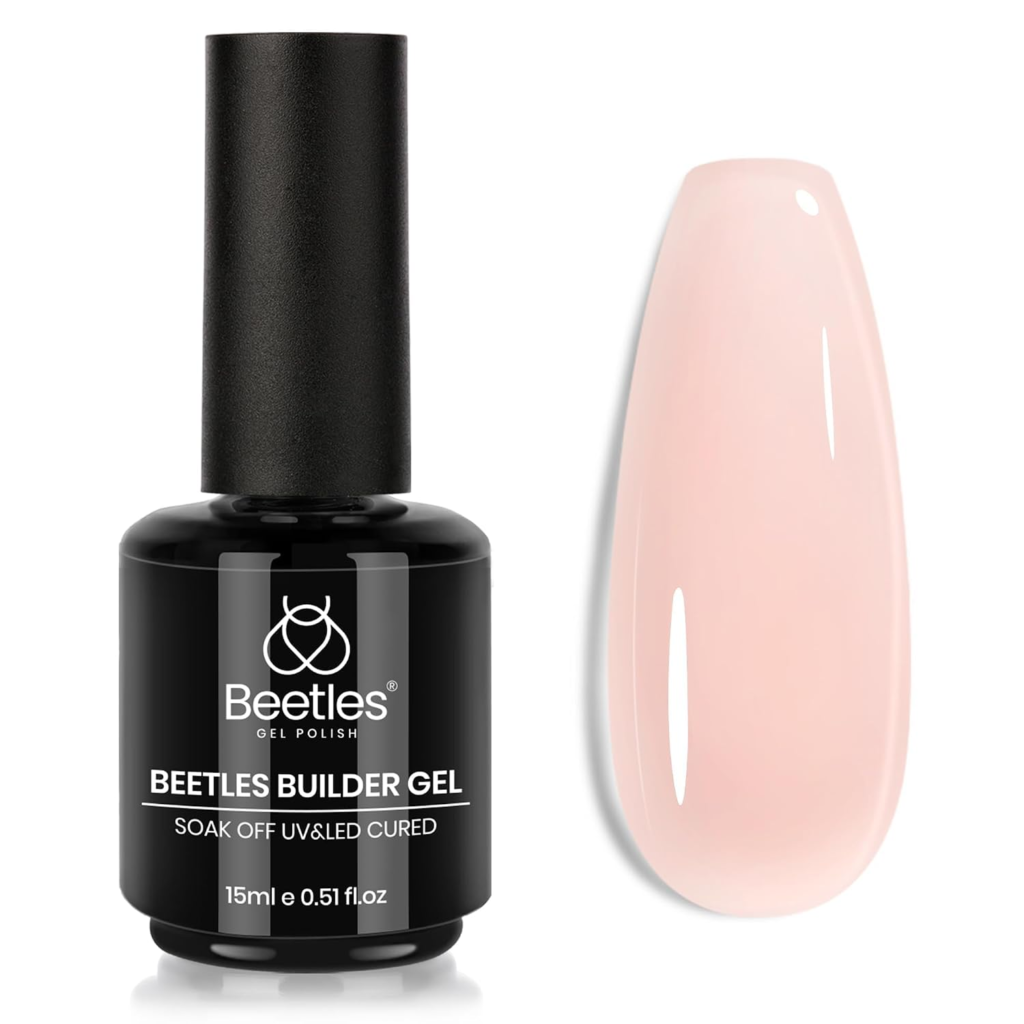
2. Beetles Builder Nail Gel – Best Budget Option
Beetles Builder Nail Gel offers outstanding value without sacrificing quality. It strengthens natural nails, works well for overlays and short extensions, and cures quickly under UV/LED lamps. It’s an ideal option for anyone starting their builder gel nails journey on a budget.
Why We Like It
Beetles offers impressive performance at an affordable price. It’s perfect for anyone starting builder gel nails without spending a fortune.
Best For: Budget-conscious users, DIY nail enthusiasts, and first-time builder gel users.
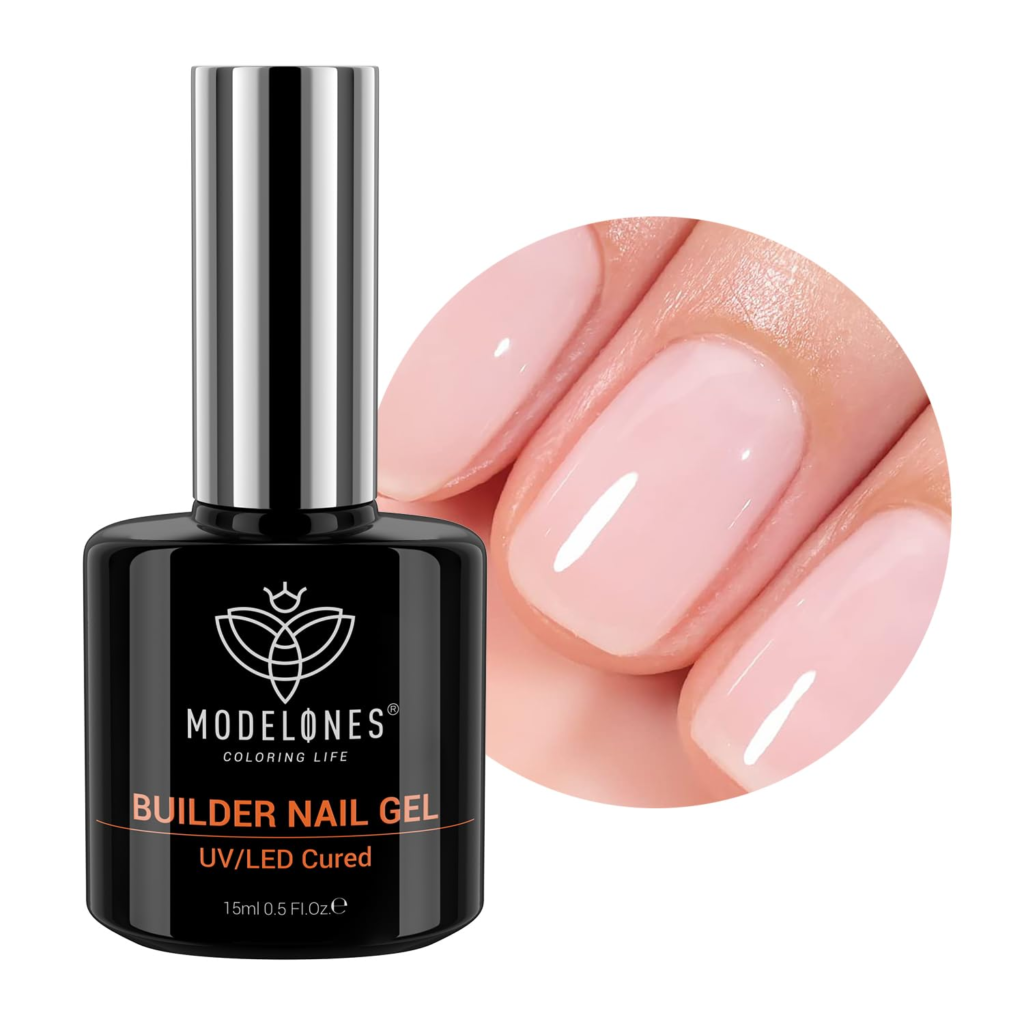
3. Modelones Builder Nail Gel – Best for Nail Extensions
Modelones Builder Nail Gel is a reliable choice for creating durable nail extensions and overlays. The thick yet self-leveling consistency makes application easier, while the long-lasting formula resists lifting and chipping. It’s a great pick for both DIY users and professional nail technicians.
Why We Like It
Modelones provides excellent strength for extending natural nails. The self-leveling formula creates smooth extensions while reducing filing time.
Best For: Nail extensions, medium-to-long nails, and users who want strong, durable enhancements.
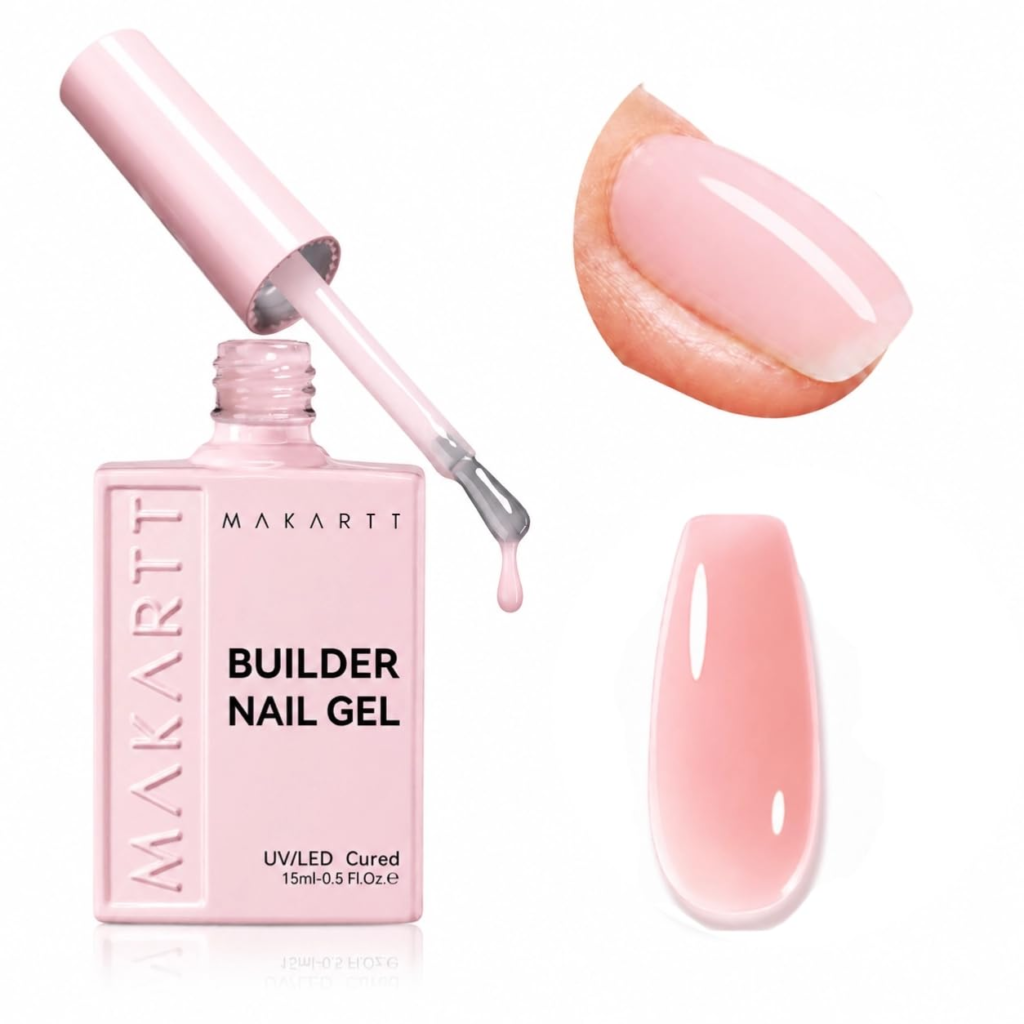
4. Makartt Builder Gel – Best for Professional Nail Techs
Makartt Builder Gel is a favorite among salon professionals thanks to its thick viscosity and exceptional durability. It provides excellent control during application, making it ideal for sculpting long extensions and creating strong overlays. Once cured, it resists lifting and chipping, giving clients a long-lasting, glossy finish.
Why We Like It
Makartt Builder Gel is designed for maximum strength without feeling overly bulky. Its self-leveling formula minimizes filing while allowing enough working time to perfect each nail before curing.
Best For: Professional nail technicians, long nail extensions, and heavy-duty nail strengthening.
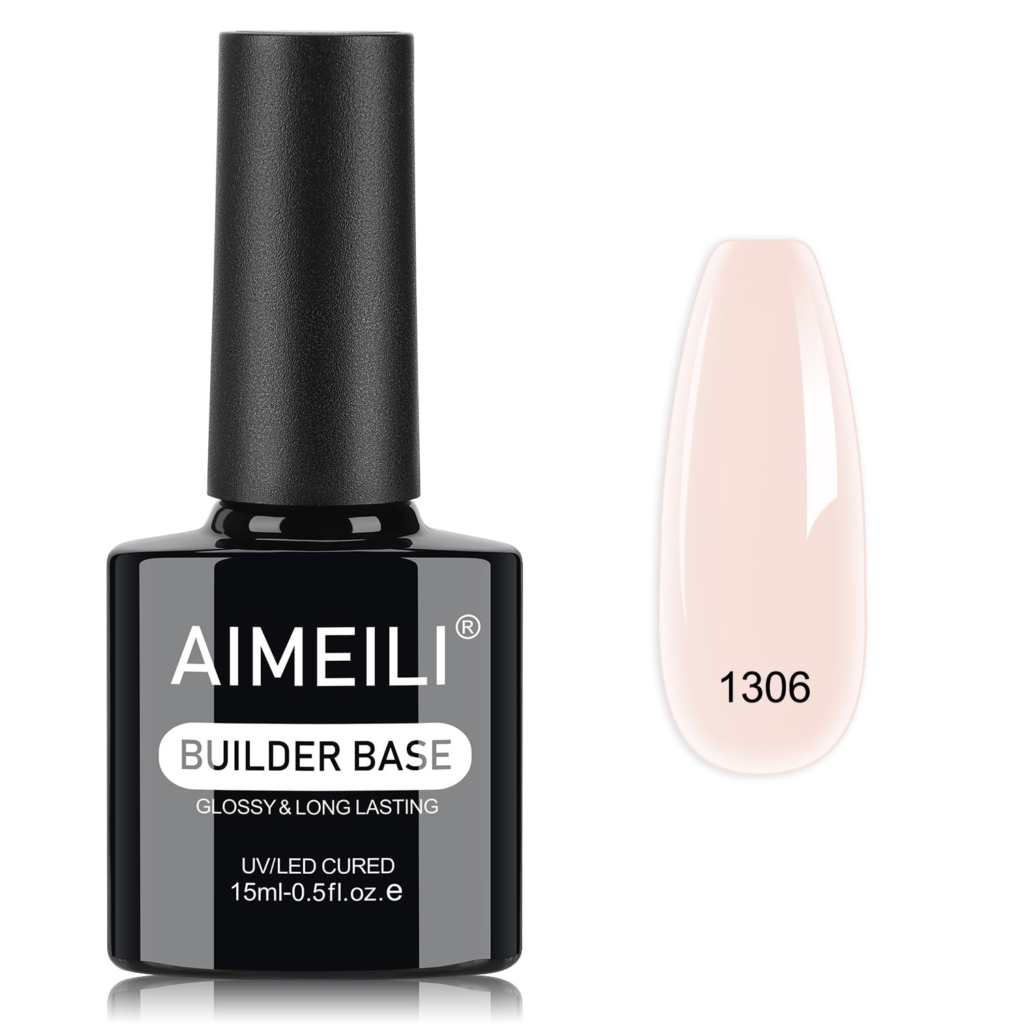
5. AIMEILI Builder Base Gel – Best for Natural Nail Overlays
AIMEILI Builder Base Gel is an excellent option for strengthening natural nails without adding excessive thickness. Its lightweight formula creates a smooth overlay that helps prevent breaks and chips while maintaining a natural appearance.
Why We Like It
The brush-on application is beginner-friendly, making it easy to achieve salon-quality builder gel nails at home. It also works well under gel polish for added durability.
Best For: Natural nail strengthening, overlays, and everyday wear.
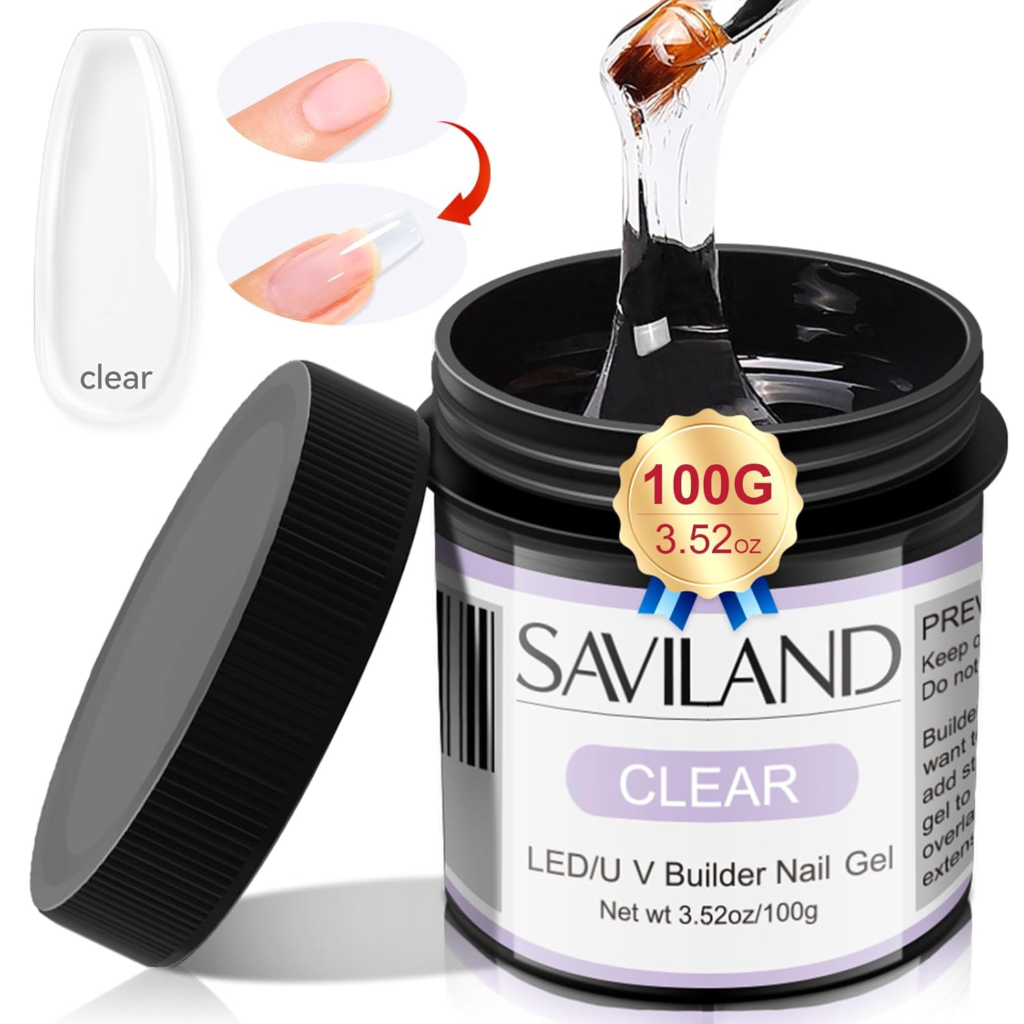
6. Saviland Builder Gel – Best Value Kit
Saviland Builder Gel offers excellent value by combining quality performance with multiple color options. The medium-thick consistency makes it easy to shape and control, making it a solid choice for overlays, repairs, and medium-length extensions.
Why We Like It
This kit gives beginners everything they need to start creating builder gel nails without investing in expensive salon products.
Best For: DIY users, beginners, and those wanting multiple builder gel colors.
7. IBD Builder Gel – Best Salon-Quality Hard Gel
IBD Builder Gel has been trusted by nail professionals for years because of its exceptional strength and crystal-clear finish. It is ideal for creating durable nail enhancements that maintain their shape and shine for weeks with proper care.
Why We Like It
Its premium hard gel formula offers outstanding durability while resisting lifting, cracking, and yellowing. It’s a reliable choice for professional salons and experienced DIY users.
Best For: Experienced users, salon professionals, and durable hard gel enhancements.
Buying Guide: How to Choose the Best Builder Gel Nails
Choosing the right product is essential if you want strong, long-lasting builder gel nails. While most builder gels are designed to strengthen and extend nails, they differ in consistency, flexibility, curing time, and intended use. Here’s what to consider before making a purchase.
1. Decide Your Purpose
Start by identifying how you plan to use builder gel.
- Natural nail overlays: Choose a flexible builder gel that reinforces weak or brittle nails without adding too much thickness.
- Nail extensions: Pick a stronger formula that can hold shape and provide lasting support.
- Nail repairs: A medium-viscosity builder gel works well for fixing cracks and broken corners.
- Professional salon work: Look for high-performance formulas with excellent self-leveling properties.
2. Choose the Right Formula
Builder gels come in several types.
Builder in a Bottle (BIAB)
- Easy brush-on application
- Great for beginners
- Perfect for natural nail strengthening
- Minimal filing required
Jar Builder Gel
- Thicker consistency
- Better for sculpting and long extensions
- Preferred by professional nail technicians
3. Check the Viscosity
The thickness of the gel affects how easy it is to work with.
- Thin viscosity: Best for overlays and quick application.
- Medium viscosity: A versatile option for most users.
- Thick viscosity: Ideal for long extensions and advanced nail art because it stays in place without running.
4. Look for Self-Leveling Properties
A self-leveling builder gel spreads evenly across the nail surface, reducing bumps and uneven layers. This means less filing and a smoother, more professional finish.
5. Make Sure It Works with Your Lamp
Most builder gel nails products require curing under a UV or LED nail lamp.
Before buying, confirm that the gel is compatible with your lamp. LED-compatible gels generally cure faster than UV-only formulas.
6. Consider Flexibility
Some builder gels are more flexible, while others are very rigid.
- Flexible formulas are better for natural nails because they move with the nail and are less likely to crack.
- Hard builder gels provide maximum strength for extensions but may not suit everyone.
7. Check Wear Time
A quality builder gel should last 3–4 weeks with proper application and maintenance. Products with good adhesion help reduce lifting, peeling, and chipping.
8. Evaluate the Ingredients
Choose products from reputable brands that are formulated to minimize irritation.
Look for builder gels that are:
- Low odor
- HEMA-free if you have sensitive skin
- Non-yellowing
- Durable and chip-resistant
Always perform a patch test if you’re trying a new product.
9. Ease of Removal
Some builder gels soak off with acetone, while others require filing.
- Soak-off builder gels: Easier for home users.
- Hard builder gels: More durable but usually need professional filing for removal.
Choose the type that best fits your experience level and maintenance routine.
10. Read Customer Reviews
Before purchasing, check reviews for:
- Long-lasting wear
- Minimal lifting
- Easy application
- Strong adhesion
- Accurate curing time
- Overall value for money
Real customer feedback can help you avoid products that don’t perform as advertised.
Pro Buying Tips
- ✔ Beginners should start with a Builder in a Bottle (BIAB) formula.
- ✔ Professionals often prefer thicker jar builder gels for sculpting.
- ✔ Pair builder gel with a quality base coat, top coat, and LED/UV lamp for the best results.
- ✔ Invest in reputable brands instead of the cheapest option for better durability and safer ingredients.
- ✔ Proper nail preparation is just as important as the builder gel itself for preventing lifting and extending wear time.
Builder Gel vs Hard Gel vs Poly Gel
Although these nail enhancement products may look similar, they serve different purposes. Understanding the differences will help you choose the right option for your skill level, nail type, and desired results.
| Feature | Builder Gel | Hard Gel | Poly Gel |
|---|---|---|---|
| Best For | Natural nail overlays & extensions | Long, durable extensions | Beginners & DIY users |
| Flexibility | Medium | Low | High |
| Strength | ⭐⭐⭐⭐☆ | ⭐⭐⭐⭐⭐ | ⭐⭐⭐⭐☆ |
| Ease of Application | Easy | Moderate | Easy |
| Soak-Off | Some formulas | No | Yes (depends on brand) |
| Filing Required | Minimal | More | Moderate |
| Suitable for Beginners | ✅ Yes | ❌ Less suitable | ✅ Yes |
| Ideal Nail Length | Short to Medium | Medium to Long | Short to Long |
Builder Gel
Builder gel is a thick gel designed to strengthen natural nails and create lightweight extensions. It is available in both Builder in a Bottle (BIAB) and traditional jar formulas. Builder gel has a self-leveling consistency, making it easier to apply than many other nail enhancement products.
Pros
- Strengthens natural nails
- Lightweight and natural-looking
- Self-leveling formula
- Great for overlays and extensions
- Suitable for beginners and professionals
Cons
- Requires UV/LED curing
- Less rigid than hard gel
Best For: Everyday builder gel nails, overlays, short-to-medium extensions, and users who want a natural appearance.
Hard Gel
Hard gel is a stronger and more rigid nail enhancement material. Once cured, it cannot usually be soaked off with acetone and must be removed by filing. It is commonly used in professional salons for clients who want maximum durability and long nail extensions.
Pros
- Extremely strong
- Excellent for long extensions
- Highly durable
- Long-lasting wear
- Resistant to cracking
Cons
- Difficult to remove
- Requires more experience
- More filing during removal
Best For: Professional nail technicians, long sculpted nails, and clients needing maximum strength.
Poly Gel
Poly gel combines features of both acrylic and gel systems. It has a putty-like consistency that stays in place until cured, giving users plenty of time to shape the nail. It is lighter than acrylic while remaining strong enough for extensions.
Pros
- Beginner-friendly
- Easy to sculpt
- Lightweight
- Low odor
- Strong yet flexible
Cons
- Requires slip solution
- Needs practice for smooth shaping
Best For: DIY nail enthusiasts, beginners, and anyone looking for an easier alternative to acrylic nails.
Which One Should You Choose?
- Choose Builder Gel if you want stronger natural nails, smooth overlays, or medium-length extensions with a lightweight feel.
- Choose Hard Gel if you need maximum durability for long nail extensions and don’t mind filing the product off during removal.
- Choose Poly Gel if you’re a beginner or want an easy-to-shape product that combines the benefits of gel and acrylic.
Our Recommendation
For most people, builder gel nails offer the best balance of strength, flexibility, and ease of use. They create a natural-looking finish, help protect weak nails, and are suitable for both home users and salon professionals. If you’re just starting out, a quality Builder in a Bottle (BIAB) is an excellent choice, while experienced nail techs may prefer hard gel for advanced sculpting or poly gel for versatile extensions.
How to Apply Builder Gel Nails
Applying builder gel nails correctly is the key to achieving a smooth, durable, and salon-quality manicure. Follow these simple steps for long-lasting results.
Step 1: Prepare Your Nails
Proper nail preparation helps prevent lifting and improves adhesion.
- Remove old polish or gel.
- Wash and dry your hands thoroughly.
- Trim and shape your nails with a nail file.
- Gently push back the cuticles.
- Lightly buff the nail surface to remove shine.
- Clean each nail with alcohol or a nail dehydrator to remove dust and oils.
Pro Tip: Never skip nail prep—it’s one of the biggest factors in how long your builder gel nails will last.
Step 2: Apply a Base Coat
Apply a thin, even layer of gel base coat to every nail.
- Avoid touching the cuticles or skin.
- Cure under a UV or LED lamp according to the manufacturer’s instructions (usually 30–60 seconds for LED or 2 minutes for UV).
A proper base coat creates a strong bond between your natural nail and the builder gel.
Step 3: Apply the Builder Gel
Using the built-in brush or a gel brush:
- Apply a thin slip layer without curing.
- Add a small bead of builder gel near the center of the nail (the apex).
- Gently guide the gel toward the cuticle and free edge.
- Allow the self-leveling formula to smooth the surface.
- Turn your hand upside down for a few seconds if needed to help create a natural apex.
Avoid flooding the cuticles, as this can lead to lifting.
Step 4: Cure the Gel
Once you’re happy with the shape:
- Cure under an LED lamp for 60–90 seconds or a UV lamp for about 2 minutes, depending on the product instructions.
- For thicker extensions, cure one nail at a time if necessary to prevent the gel from running.
Step 5: Build Additional Layers (Optional)
If you want extra strength or longer extensions:
- Apply another thin layer of builder gel.
- Rebuild the apex if needed.
- Cure again under the lamp.
Two thin layers generally perform better than one very thick layer.
Step 6: File and Shape
After curing:
- Remove the sticky inhibition layer if required by your product.
- Refine the shape with a 180-grit nail file.
- Smooth the surface using a buffer.
Many modern self-leveling builder gels require very little filing.
Step 7: Apply Gel Color (Optional)
If you want colored nails:
- Apply one or two thin coats of gel polish.
- Cure each coat according to the polish instructions.
You can also leave builder gel clear for a clean, natural look.
Step 8: Finish with a Top Coat
Seal your builder gel nails with a high-quality gel top coat.
- Apply a thin, even layer.
- Cap the free edge to reduce chipping.
- Cure under the lamp.
The top coat adds shine, protects the gel, and helps your manicure last longer.
Step 9: Moisturize Your Cuticles
Finish by applying cuticle oil around each nail.
This helps keep your nails and surrounding skin healthy while maintaining a professional-looking manicure.
Tips for Better Results
- Apply thin, even layers instead of one thick coat.
- Keep gel away from the cuticles and skin.
- Always use the correct curing time recommended by the manufacturer.
- Cap the free edge to reduce lifting and chipping.
- Work on one nail at a time if you’re new to builder gel.
- Clean your brushes after each use for the best application.
Following these steps will help you achieve strong, glossy, and long-lasting builder gel nails that can last 3–4 weeks with proper care.
Common Mistakes to Avoid with Builder Gel Nails
Even the best builder gel nails won’t last if they’re applied incorrectly. Avoid these common mistakes to achieve stronger, smoother, and longer-lasting results.
1. Skipping Nail Preparation
One of the biggest reasons builder gel lifts is poor nail prep.
Before applying builder gel:
- Remove all oils and dust.
- Gently buff the nail surface.
- Push back the cuticles.
- Use a nail dehydrator or alcohol to clean the nails.
Proper preparation creates a strong bond between the gel and your natural nail.
2. Applying Thick Layers
Applying one thick layer may seem faster, but it can cause uneven curing, bubbles, and lifting.
Instead:
- Apply thin, even coats.
- Build the apex gradually.
- Cure each layer completely before adding another.
3. Flooding the Cuticles
Builder gel should never touch your skin or cuticles.
Gel that cures on the skin can:
- Cause lifting
- Create an uneven finish
- Increase the risk of skin irritation
Leave a small gap around the cuticle for a cleaner, professional-looking application.
4. Not Curing Properly
Under-curing weakens the gel, while over-curing can affect some products.
Always:
- Use a compatible UV or LED lamp.
- Follow the manufacturer’s recommended curing time.
- Replace old lamp bulbs or use a properly functioning LED lamp.
5. Skipping the Apex
The apex is the highest point of the nail and provides structural support.
Without a proper apex:
- Nails become weaker.
- Extensions are more likely to break.
- The manicure won’t last as long.
For medium or long nails, always build a balanced apex.
6. Using Too Much Product
More gel doesn’t mean stronger nails.
Excess builder gel can:
- Look bulky
- Require more filing
- Cure unevenly
- Feel uncomfortable on the nails
Use only the amount needed for a smooth, natural shape.
7. Peeling Off Builder Gel
Never peel or pick off builder gel nails.
Doing so can:
- Damage the natural nail
- Cause peeling and thinning
- Increase the risk of nail breakage
Always remove builder gel using the recommended soak-off or filing method.
8. Ignoring Nail Maintenance
Builder gel isn’t completely maintenance-free.
To keep your nails looking their best:
- Refill every 2–4 weeks as your nails grow.
- Apply cuticle oil daily.
- Avoid using your nails as tools.
Regular maintenance helps prevent lifting and keeps your manicure looking fresh.
9. Using Low-Quality Products
Cheap builder gels may have poor adhesion, uneven consistency, or shorter wear time.
Investing in trusted brands often provides:
- Better durability
- Smoother application
- Stronger adhesion
- More consistent results
10. Forgetting to Seal the Free Edge
Many beginners forget to cap the tip of the nail with builder gel or top coat.
Sealing the free edge helps:
- Reduce chipping
- Prevent lifting
- Improve durability
- Extend the life of your manicure
Quick Tips for Success
- ✔ Prepare your nails properly before every application.
- ✔ Apply thin, even layers instead of thick coats.
- ✔ Keep gel away from your skin and cuticles.
- ✔ Cure each layer completely.
- ✔ Build a proper apex for added strength.
- ✔ Use high-quality builder gel and a reliable UV/LED lamp.
- ✔ Moisturize your cuticles daily and maintain your nails regularly.
Avoiding these common mistakes will help your builder gel nails stay strong, glossy, and chip-resistant for weeks.
Safety Tips for Builder Gel Nails
Using builder gel nails safely helps protect your natural nails and skin while ensuring long-lasting, professional-looking results. Follow these simple precautions every time you apply or remove builder gel.
1. Perform a Patch Test
If you’re using a new builder gel for the first time, perform a patch test before a full application. This helps identify any potential allergic reactions to the ingredients.
2. Avoid Skin Contact
Keep builder gel away from your skin and cuticles.
If gel touches your skin:
- Wipe it off immediately before curing.
- Never cure gel that is on your skin.
Repeated skin exposure may increase the risk of developing gel allergies over time.
3. Use a Quality UV/LED Lamp
Always cure builder gel with a compatible UV or LED lamp recommended by the manufacturer.
Using an unsuitable or weak lamp can lead to under-cured gel, reducing durability and increasing the chance of irritation.
4. Cure for the Recommended Time
Follow the curing time listed on the product label.
Avoid:
- Under-curing the gel.
- Applying excessively thick layers that may not cure properly.
Thin layers cure more evenly and provide better strength.
5. Work in a Well-Ventilated Area
Although builder gels generally have a low odor, good ventilation helps reduce exposure to fumes from gels, cleansers, and other nail products.
6. Wear a Dust Mask When Filing
Filing cured builder gel creates fine dust.
To protect yourself:
- Wear a dust mask if filing frequently.
- Use a nail dust collector when possible.
- Clean your workspace after each manicure.
7. Don’t Force Removal
Never peel, bite, or pull off builder gel nails.
Improper removal can damage your natural nails and make them thin or weak.
Instead, follow the recommended soak-off or filing method for your specific builder gel.
8. Keep Your Tools Clean
Sanitize nail tools before and after every use.
Clean brushes, nail files, and cuticle pushers help reduce the risk of bacteria and contamination.
9. Store Products Properly
Keep builder gel tightly sealed and store it:
- Away from direct sunlight.
- In a cool, dry place.
- Away from heat sources.
Proper storage helps maintain the gel’s consistency and performance.
10. Give Damaged Nails Time to Recover
If your natural nails become thin, painful, or damaged, avoid applying builder gel until they have healed.
Use nourishing cuticle oil and strengthening nail treatments to support healthy nail growth.
Quick Safety Checklist
- ✔ Perform a patch test before first use.
- ✔ Keep gel off your skin and cuticles.
- ✔ Use a compatible UV/LED lamp.
- ✔ Cure thin layers for the recommended time.
- ✔ Work in a well-ventilated area.
- ✔ Wear a dust mask when filing gel.
- ✔ Never peel off builder gel.
- ✔ Sanitize tools after every use.
- ✔ Store products in a cool, dry place.
- ✔ Stop using the product if you notice redness, itching, swelling, or irritation and consult a healthcare professional if symptoms persist.
Following these safety tips will help you enjoy beautiful, durable builder gel nails while protecting the health of your natural nails and surrounding skin.
Frequently Asked Questions (FAQs)
With proper application and care, builder gel nails typically last 3 to 4 weeks before needing a refill. Regular maintenance and proper nail preparation can help extend their wear time.
Yes. Builder gel is commonly used to strengthen natural nails, reduce breakage, and create a smooth surface before applying gel polish. It’s an excellent choice for people with weak or brittle nails.
Regular gel polish mainly adds color and shine, while builder gel nails provide additional strength, thickness, and structure. Builder gel can also be used to create overlays and short-to-medium nail extensions.
Yes. Most builder gels require curing under a UV or LED nail lamp. Always check the manufacturer’s instructions for the recommended lamp type and curing time.
Absolutely. Many Builder in a Bottle (BIAB) products are designed for beginners and are easy to apply. With proper nail preparation, thin layers, and the right curing lamp, you can achieve salon-quality builder gel nails at home.
Final Verdict
Builder gel nails are an excellent choice for anyone who wants stronger, healthier-looking nails without the heaviness of acrylics. They provide added durability, a natural appearance, and long-lasting wear, making them suitable for both everyday use and special occasions.
If you’re a beginner, Orly Builder In A Bottle is our top recommendation thanks to its easy brush-on application and self-leveling formula. For shoppers on a budget, Beetles Builder Nail Gel delivers impressive performance at an affordable price. If you need strong extensions or work in a salon, Makartt Builder Gel and IBD Builder Gel offer professional-grade strength and durability.
No matter which product you choose, proper nail preparation, correct curing, and regular maintenance are essential for getting the best results. By investing in a high-quality builder gel and following the application tips in this guide, you’ll enjoy beautiful, chip-resistant builder gel nails that can last for weeks while keeping your natural nails protected.
Related Articles:
For more nail tutorials, product reviews, and beauty tips, visit our homepage.