
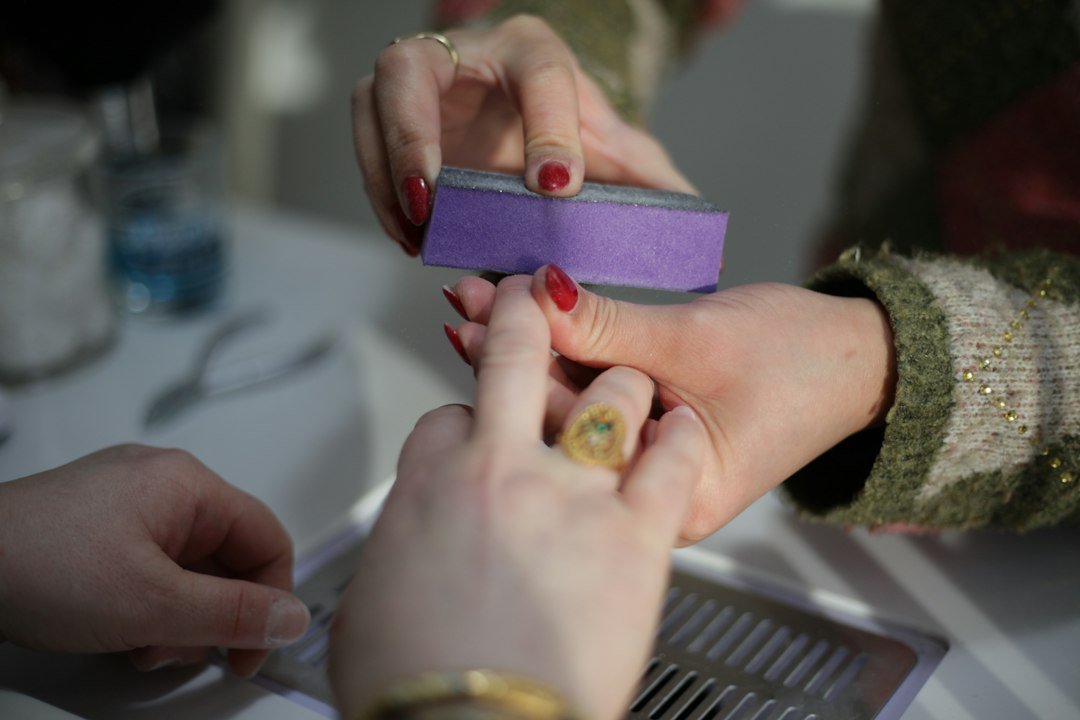
Are you tired of spending a fortune on salon visits to get your acrylic nails done? With a little practice and patience, you can achieve salon-quality results from the comfort of your own home with DIY acrylic nails. In this comprehensive guide, we’ll walk you through the step-by-step process of creating your own stunning acrylic nails at home.
What You’ll Need to Get Started with DIY Acrylic Nails
Before you begin, make sure you have all the necessary supplies and equipment. Here’s a list of what you’ll need:
- Acrylic powder and liquid monomer
- Nail tips or forms
- Nail glue
- Cuticle pusher and nippers
- Nail file and buffer
- Lint-free wipes and cotton balls
- A well-ventilated workspace
Preparing Your Nails for DIY Acrylic Nails
Preparation is key to achieving long-lasting and healthy-looking acrylic nails. Here’s how to prepare your natural nails:
- Remove any existing nail polish and push back your cuticles.
- Use a nail file to gently shape your natural nails to your desired shape.
- Use a lint-free wipe to remove any oils or residue from your nails.
Applying Nail Tips or Forms for DIY Acrylic Nails
Nail tips or forms provide a base for your acrylic nails. Here’s how to apply them:
- Select the right size of nail tip or form for each of your natural nails.
- Apply a small amount of nail glue to the back of the tip or form and attach it to your natural nail.
- Hold the tip or form in place for a few seconds to secure it.
Mixing and Applying the Acrylic for DIY Acrylic Nails
The acrylic mixture is the foundation of your DIY acrylic nails. Here’s how to mix and apply it:
- In a well-ventilated area, mix the acrylic powder and liquid monomer according to the manufacturer’s instructions.
- Apply a thin layer of the acrylic mixture to your nail, starting at the center and working your way out towards the tips.
- Use a nail brush to shape and smooth out the acrylic.
Shaping and Finishing Your DIY Acrylic Nails
Once the acrylic is applied, it’s time to shape and finish your nails. Here’s how:
- Use a nail file to gently shape your acrylic nails to your desired shape.
- Use a buffer to smooth out any ridges or imperfections.
- Apply a top coat to seal and protect your acrylic nails.
Tips and Tricks for Long-Lasting DIY Acrylic Nails
To keep your DIY acrylic nails looking their best, here are some tips and tricks:
- Avoid using your nails as tools to prevent chipping and cracking.
- Keep your nails and cuticles moisturized to prevent dryness and brittleness.
- Avoid exposing your nails to harsh chemicals or detergents.
According to Wikipedia, acrylic nails have been a popular choice for nail enhancements since the 1950s. With the right techniques and aftercare, you can enjoy long-lasting and beautiful DIY acrylic nails from the comfort of your own home.
In conclusion, creating your own DIY acrylic nails at home requires some practice and patience, but with the right supplies and techniques, you can achieve salon-quality results. Remember to follow proper sanitation and safety procedures, and don’t be afraid to experiment with different shapes and designs. With these tips and tricks, you’ll be on your way to creating stunning DIY acrylic nails that will make you feel confident and beautiful.
[…] among nail enthusiasts. If you’re new to DIY acrylic nails, we recommend checking out our DIY Acrylic Nails at Home: A Step-by-Step Beginner’s Guide for a comprehensive introduction to the […]
[…] proper techniques to avoid common mistakes. For more information on acrylic nails, check out our DIY Acrylic Nails at Home: A Step-by-Step Beginner’s Guide or our Acrylic Nail Kit Essentials for a Successful DIY. With proper nail prep and technique, you […]