
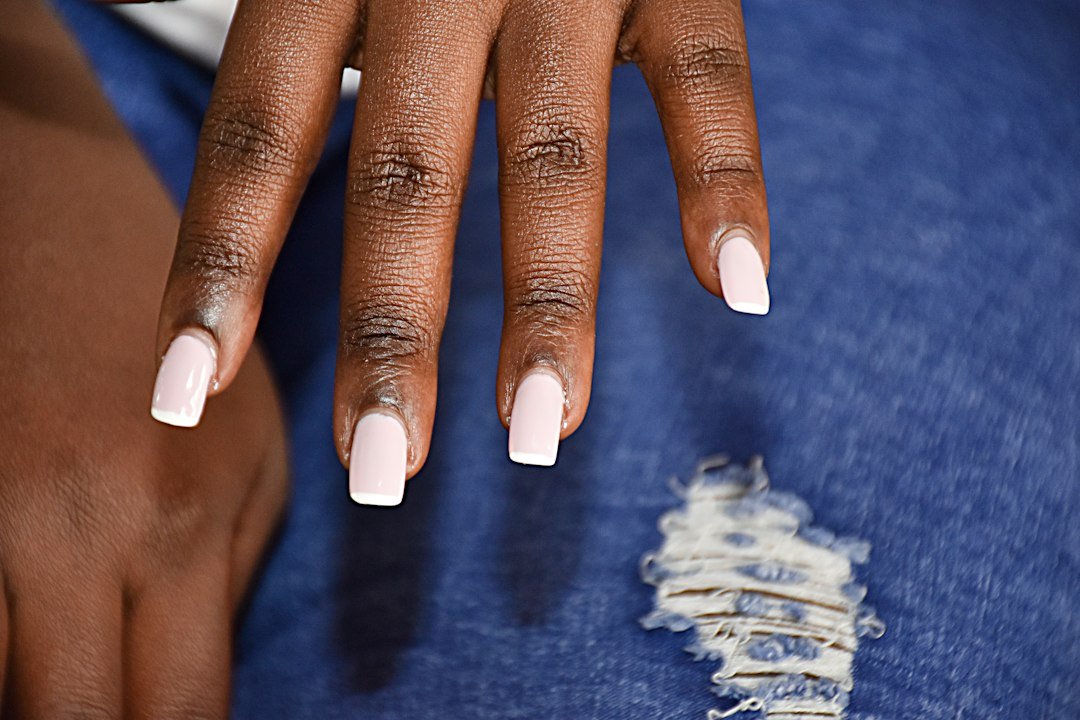
When it comes to applying acrylic nails, proper nail prep is crucial for a long-lasting and healthy application. Nail prep acrylic is an essential step that ensures your natural nails are ready for the acrylic application process. In this article, we’ll take you through a step-by-step guide on how to prepare your natural nails for acrylic application.
Nail Prep Acrylic: Why is it Important?
Preparing your nails for acrylic application is vital for several reasons. Firstly, it helps to create a strong bond between the natural nail and the acrylic, reducing the risk of lifting or separation. Secondly, it helps to prevent damage to the natural nail, such as cracking or breaking, which can be caused by the acrylic application process. Finally, proper nail prep ensures that the acrylic application looks natural and even, with no visible ridges or imperfections.
Step 1: Cleanse and Shape the Nail
The first step in nail prep acrylic is to cleanse and shape the nail. Start by removing any oils or lotions from the nail surface using a lint-free wipe or cotton ball. Next, use a nail file to shape the nail to your desired shape, making sure to smooth out any ridges or imperfections. Be careful not to file too aggressively, as this can cause damage to the nail.
Step 2: Remove Old Nail Polish and Push Back the Cuticles
Remove any old nail polish from the nail surface using a nail polish remover. Then, use a cuticle pusher or an orange stick to gently push back the cuticles. Be careful not to push too hard, as this can cause bleeding or pain.
Step 3: Buff the Nail Surface
Use a nail buffer to gently buff the nail surface, removing any ridges or imperfections. This will help to create a smooth surface for the acrylic application. Be careful not to buff too aggressively, as this can cause damage to the nail.
Step 4: Apply a Nail Primer
Apply a nail primer to the nail surface, making sure to cover the entire nail. This will help to create a strong bond between the natural nail and the acrylic. Let the primer dry completely before moving on to the next step.
Step 5: Apply a Nail Tip or Form
If you’re using a nail tip or form, apply it to the nail surface, making sure to secure it in place. This will help to create a strong foundation for the acrylic application.
Tips and Tricks for a Successful Nail Prep Acrylic
For a successful nail prep acrylic, make sure to follow these tips and tricks:
- Use a high-quality nail primer to create a strong bond between the natural nail and the acrylic.
- Make sure to buff the nail surface gently, as aggressive buffing can cause damage to the nail.
- Use a nail tip or form to create a strong foundation for the acrylic application.
- Follow a proper nail prep routine to ensure a long-lasting and healthy acrylic application.
Common Mistakes to Avoid in Nail Prep Acrylic
When it comes to nail prep acrylic, there are several common mistakes to avoid. These include:
- Not cleansing the nail surface properly, which can lead to a weak bond between the natural nail and the acrylic.
- Not shaping the nail properly, which can lead to an uneven acrylic application.
- Not using a nail primer, which can lead to a weak bond between the natural nail and the acrylic.
- Not buffing the nail surface gently, which can cause damage to the nail.
Conclusion
In conclusion, nail prep acrylic is an essential step in the acrylic application process. By following these steps and tips, you can ensure a long-lasting and healthy acrylic application. Remember to always use high-quality products and follow proper techniques to avoid common mistakes. For more information on acrylic nails, check out our DIY Acrylic Nails at Home: A Step-by-Step Beginner’s Guide or our Acrylic Nail Kit Essentials for a Successful DIY. With proper nail prep and technique, you can achieve beautiful and long-lasting acrylic nails.
According to the Wikipedia article on nail anatomy, the nail plate is made up of several layers, including the eponychium, the cuticle, and the nail bed. Proper nail prep is essential to ensure that the acrylic application adheres to the nail plate and not to the surrounding skin.